*New and updated! Sound blocker insulation video here: https://www.kiravans.co.uk/blogs/videos/video-how-to-soundproof-your-campervan-using-kiravans-sound-blocker
_______________________________
Old video:
Video transcript:
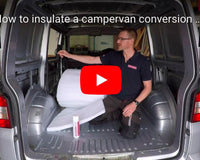
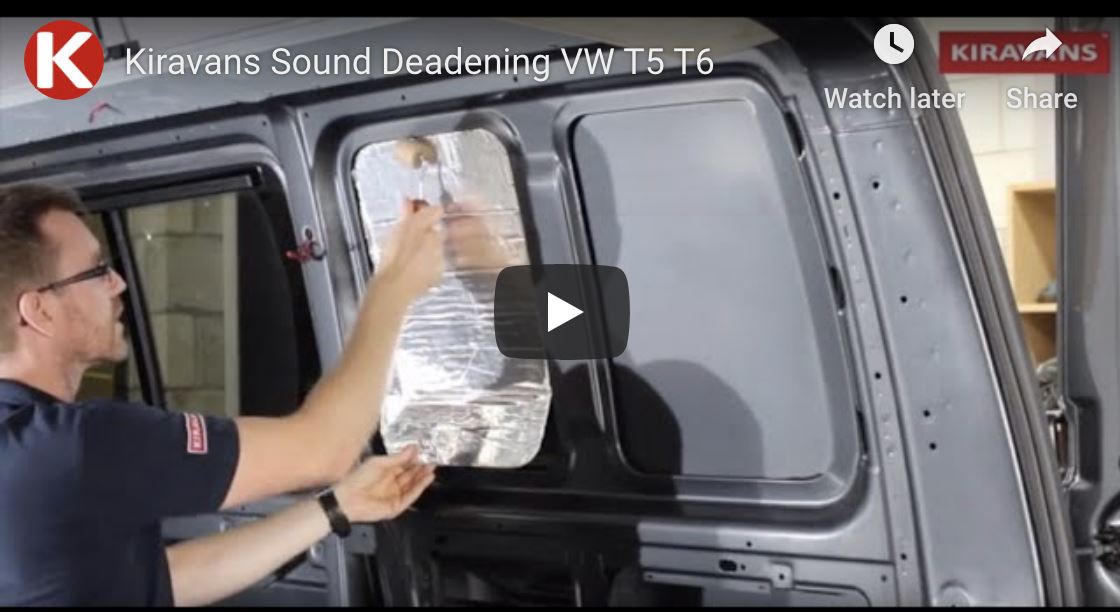
Hi, folks. Welcome to this video from Kiravans on sound deadening your van. This is quite a simple process, relatively quick and easy to do, but quite often overlooked by a lot of people. It's well worth doing because when you buy your panel van it's basically a tin box which is going to get a lot of road noise through the panels.
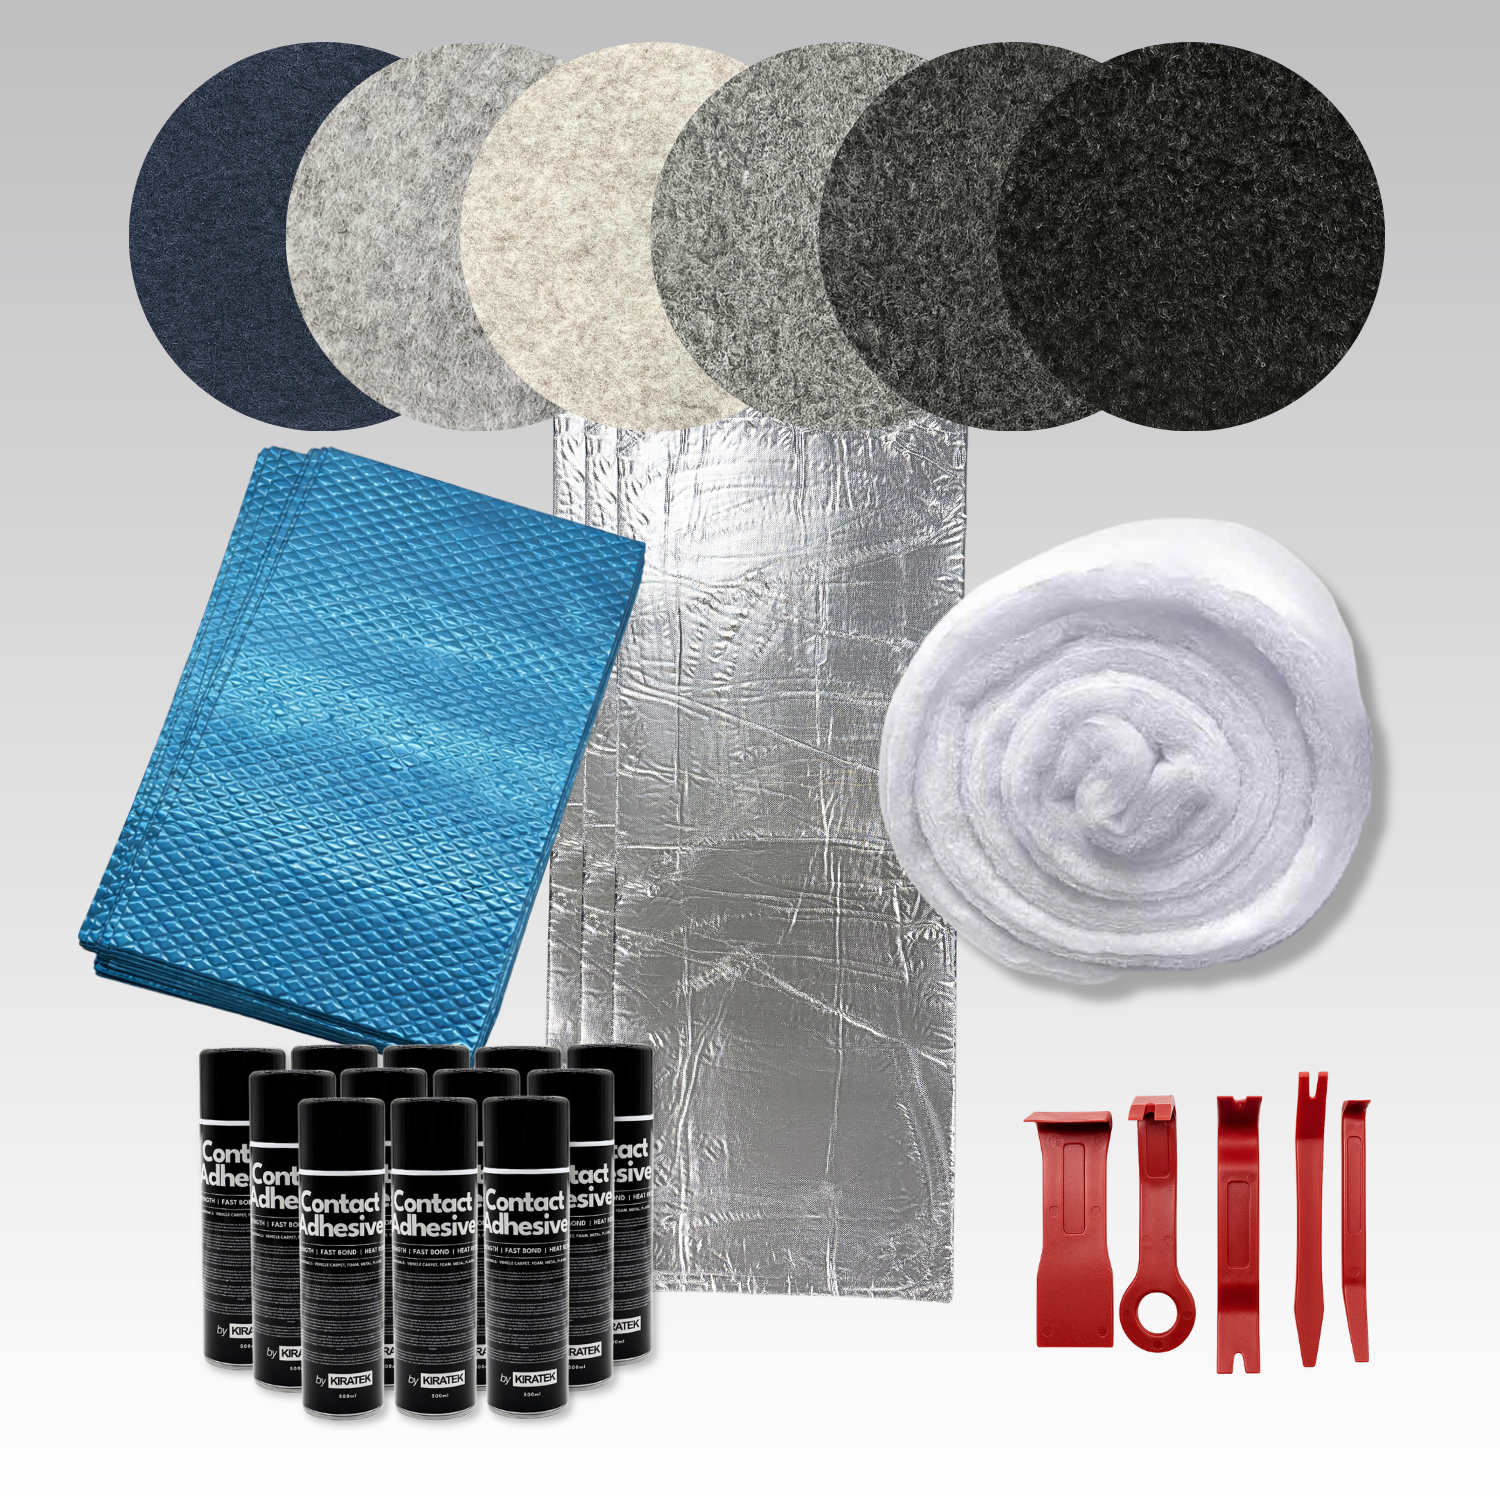
What we sell is a sound deadening mat. It's a fairly, fairly dense mat. On the back, it's got a sort of butyl rubber layer, which is quite malleable. It's a little bit like Blu Tack, you peel off your backing paper, stick it on to the inside of your van, and then on the inside layer, it's got some metal foil.
It's quite self-explanatory how it fits. You basically cut it to shape and stick it on the inside of the metal panels. So, you don't need very many tools. If you give the panels a wipe with degreaser first, that'll ensure it sticks well.
You're gonna need a tape measure, a marker, Stanley knife, and if you can, get a hold of a little hard roller to help stick it onto the panels, that'll help a lot. I got this from Tool Station for a few pounds. So, let's take a look at how we're going to fit it into the van.
So, the first stage is to remove any existing panels you've got in your van, little trim tool comes in handy here to get the poppers out. And once you've stripped out your internal panels, get some degreaser and give all the internal metalwork a good wipe. Make sure there's no residue left. Get your tape measure out. Measure up for your first bit of soundproofing, and then simply mark out the size on your sheet, use a sharp Stanley knife to cut it.
Back inside the van, do any little final adjustments. You can trim it with a pair of scissors, as well, and then offer it up to the metalwork. Peel off the backing paper as you go, making sure there's no wrinkles, and then your little hard roller comes in handy here just to make sure you get full contact over the whole sheet. And then you just simply carry on, do the same for as much exposed metalwork as you can see.
Now, I've pretty much done everything I can reach on this van, just to show you the process. You don't have to do that. You can get away with sort of 70%, and it should have more or less the same effect. This van is a VW T6, which is pretty much identical to the T5 inside. There's one window on the side you can see and two on the other side.
So I've done all the metalwork on doors and the wheel arches as well, and it's taken 10 sheets, pretty much, to do that. There's a pop top on this van, so no need to do the roof, and I haven't done the floor or the driver's doors. So that works out at about 3.75 square meters, so you should be able to work out from that how much you're gonna need for your project.
So, that's the soundproofing mat done on our project van. Now, that job probably took me about three or four hours in total, but you can do as much or as little as you want. I think what I've done in this van will make a massive difference to reducing the road noise. I've heard that it can reduce it by up to 50%, so it's really well worth doing. And you can even hear it simply by slamming the door, just adds a bit more weight to that. And you can hear those panels have got a sort of dull thud now, rather than that light tinny noise that was there before.
So, hopefully you've got enough information now to go and make that decision on whether to do this stage in your conversion. But whatever stage you're at, good luck with it, and I'll see you next time.