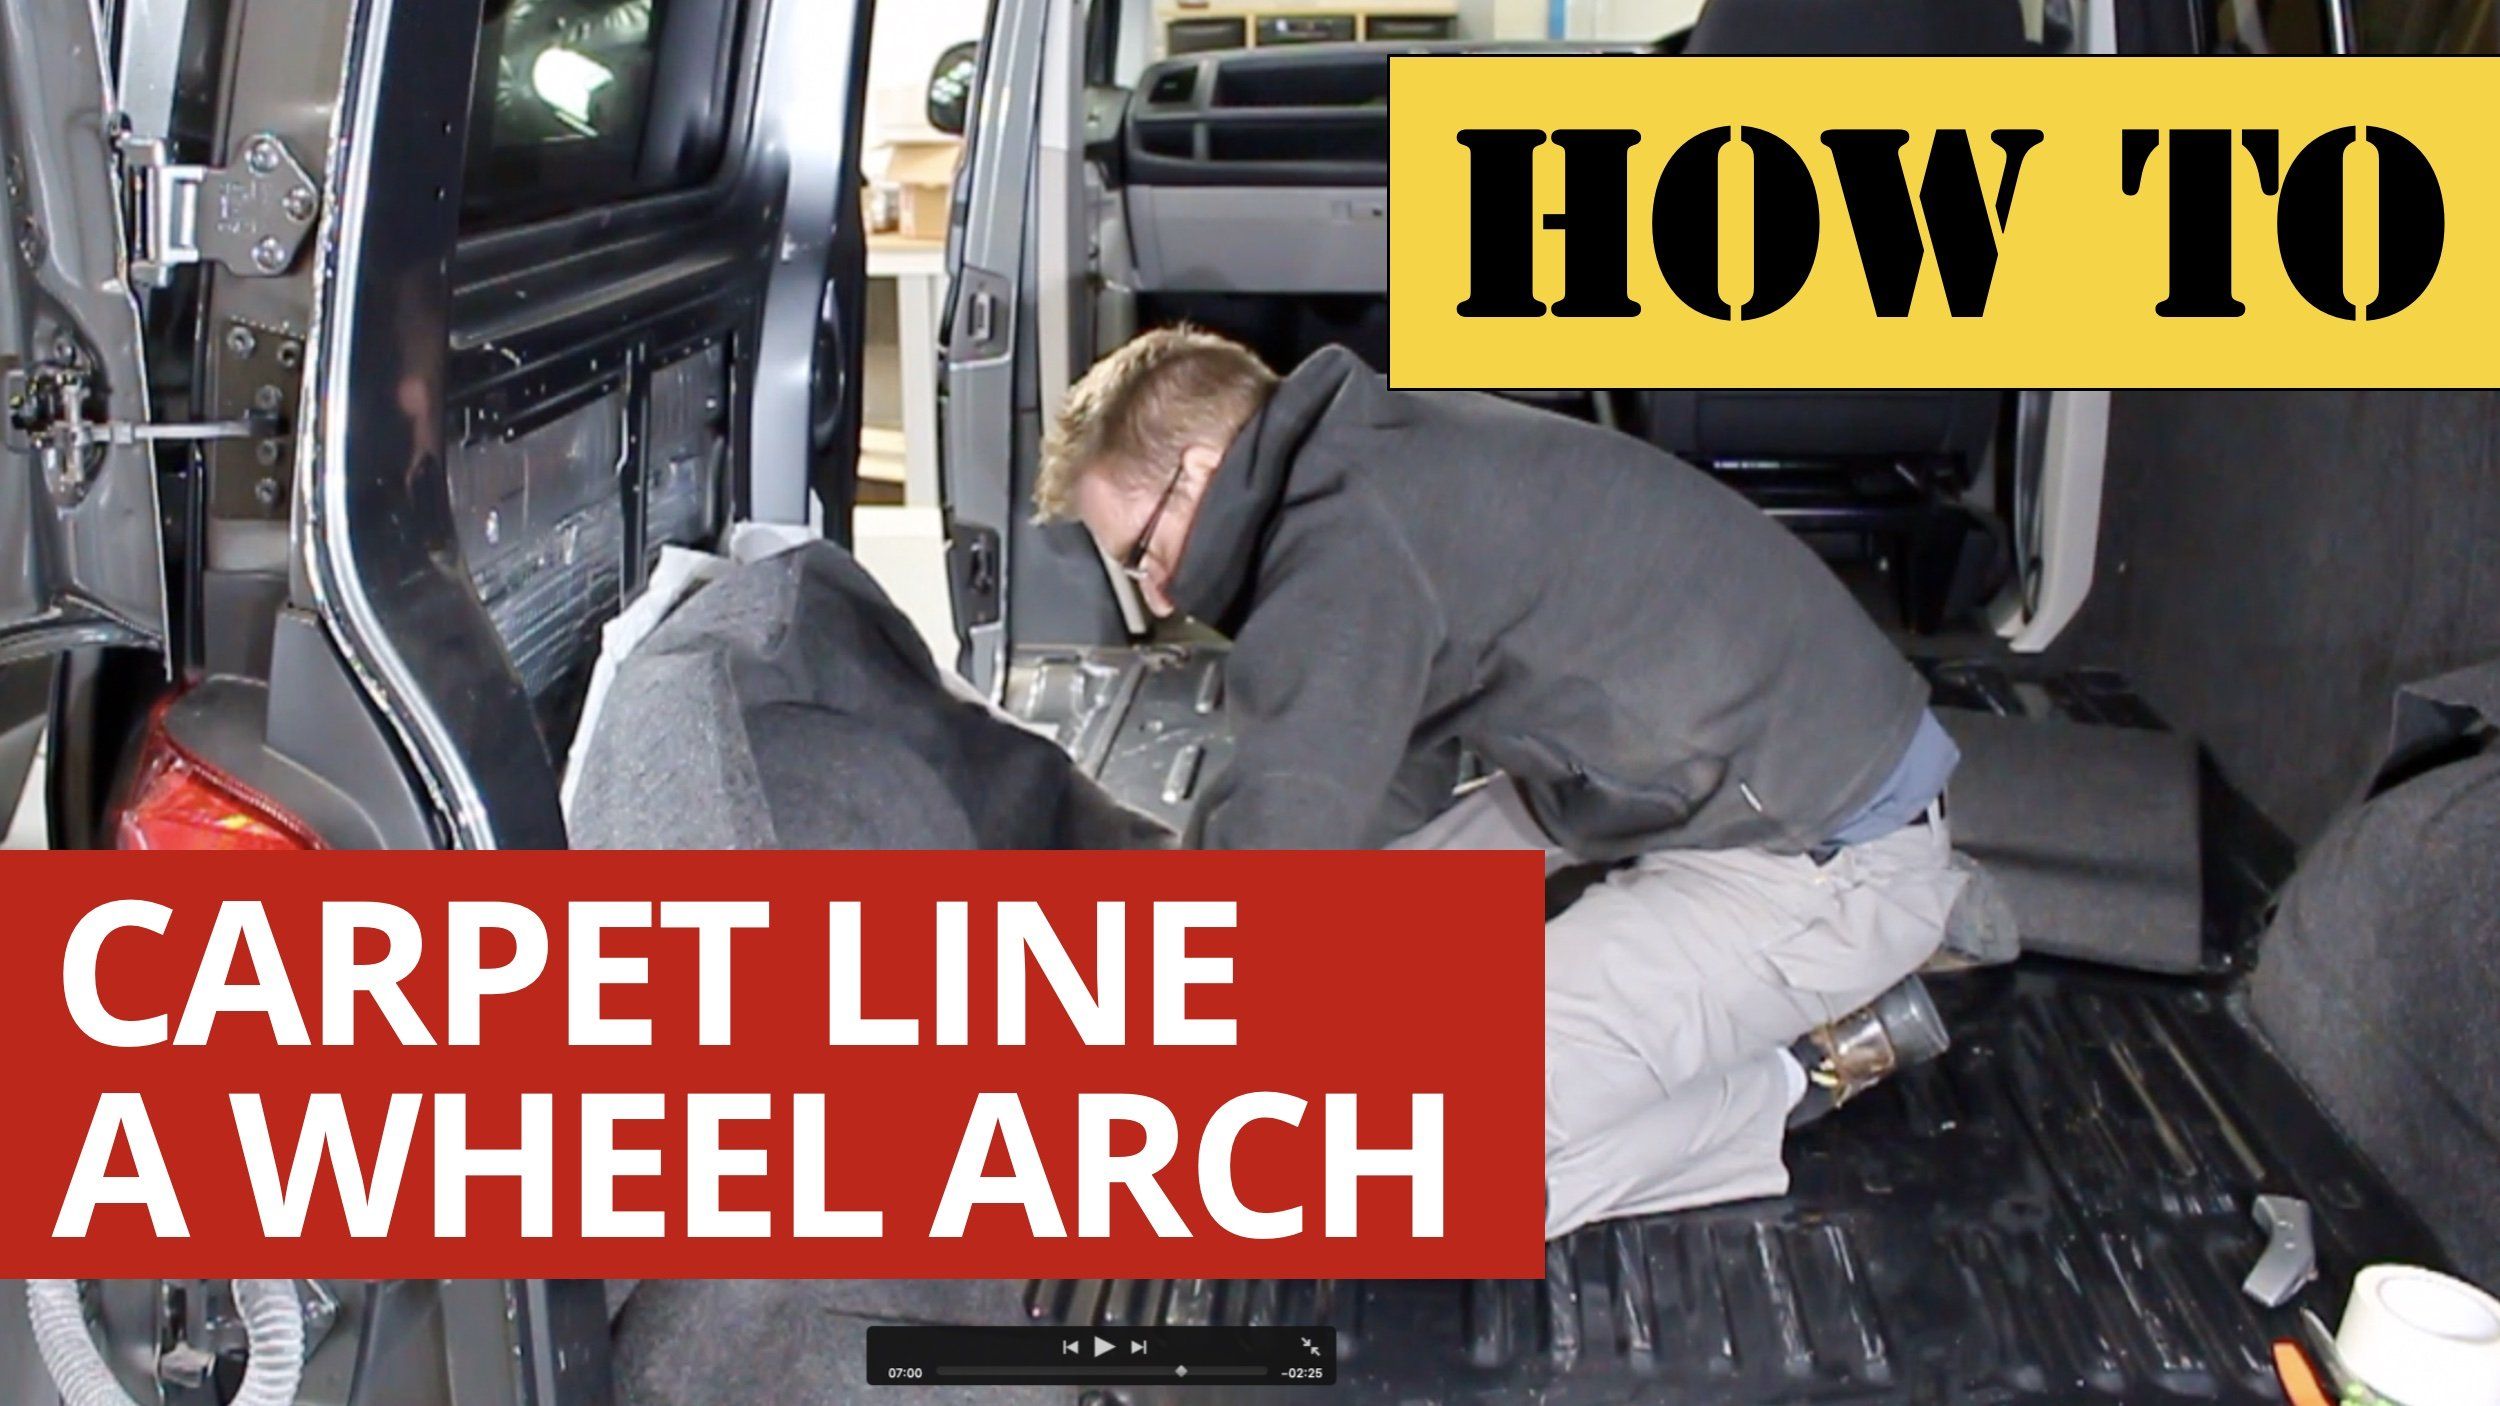
Video transcript
Hi guys. Today we're looking at carpet lining this wheel arch in the VW T6 van. It's gonna be exactly the same for the T5 van.
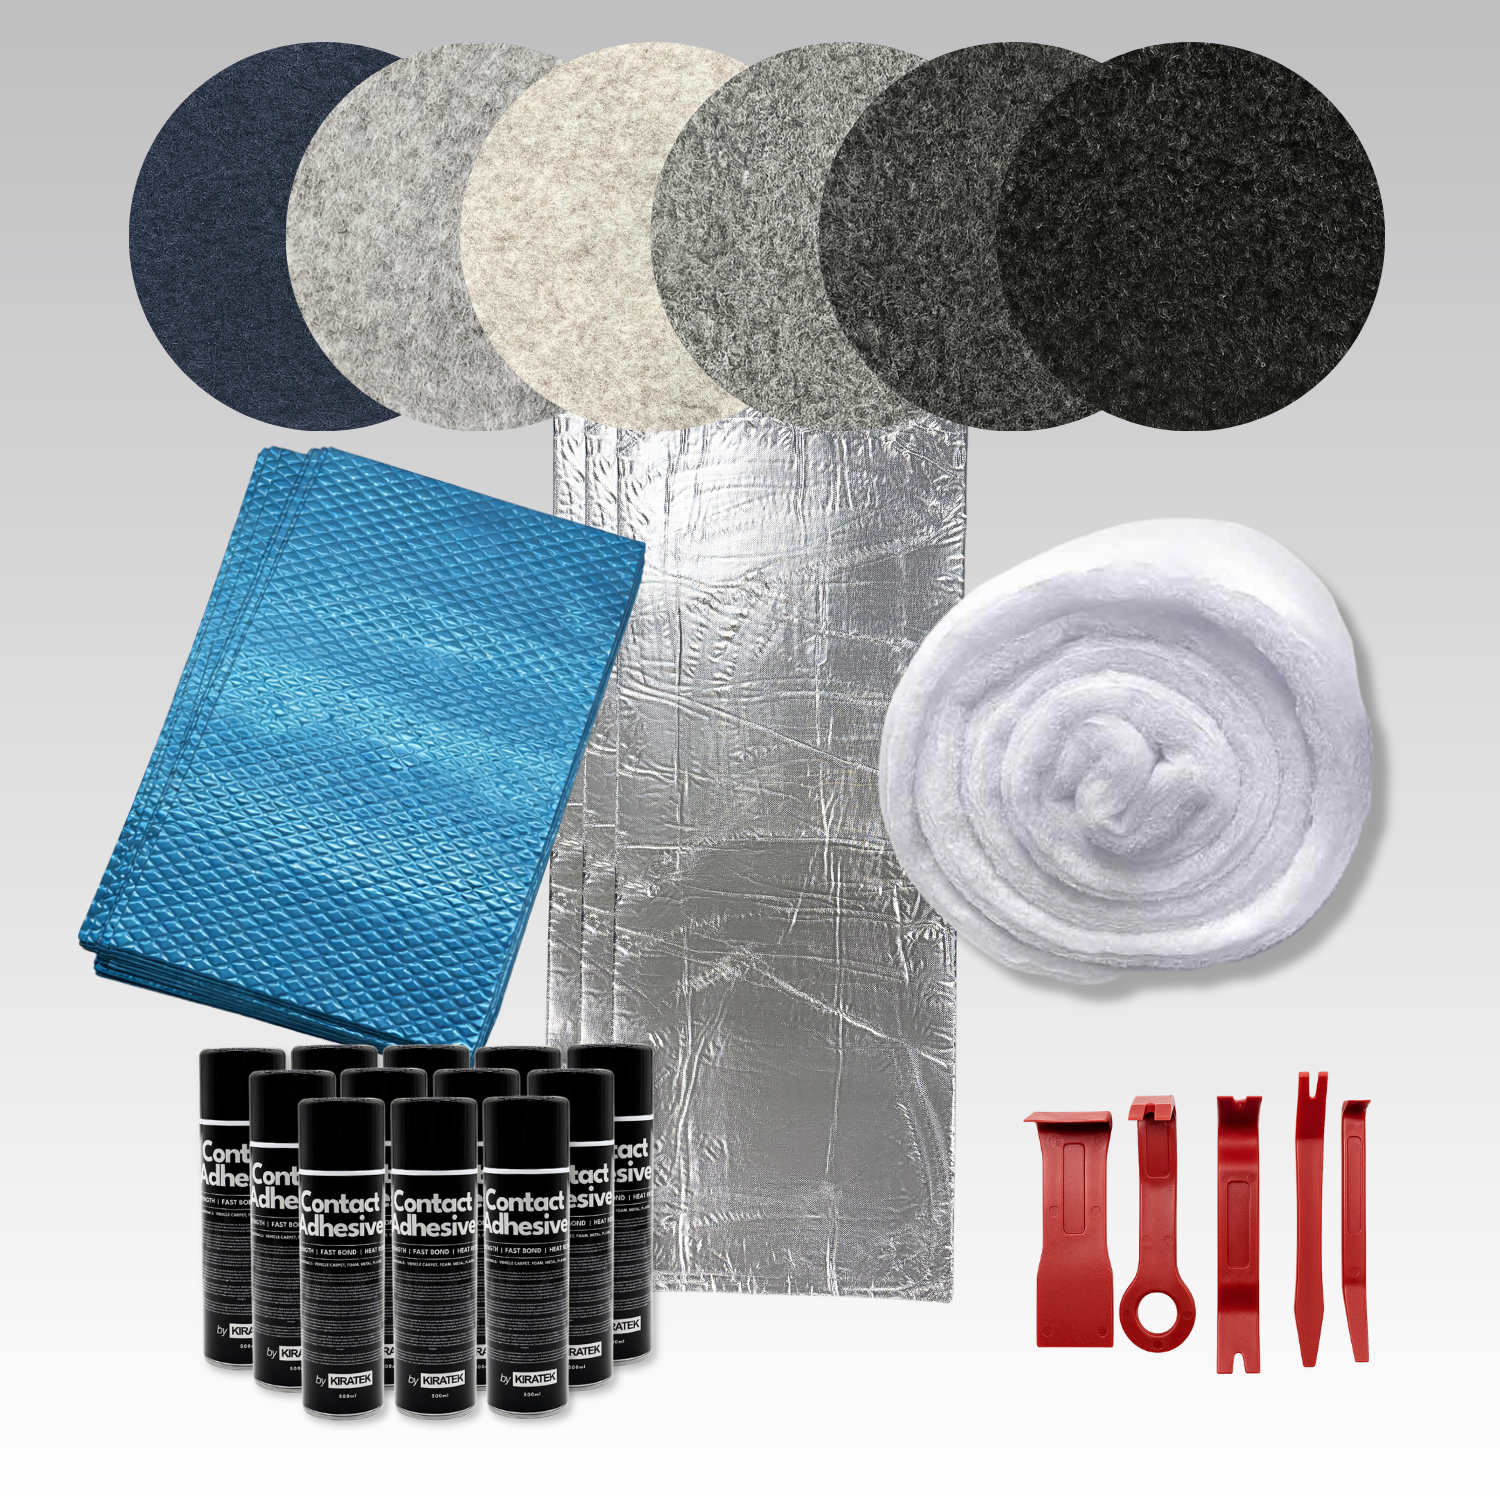
What we're using is the four-way stretch easy liner carpet. This is the anthracite one and some high-temperature adhesive. It's quite straight forward. We don't need a lot of tools. I've already used a bit of masking tape just to mask off any areas where I don't want the glue to sit. I've got a sharp Stanley knife, pair of scissors.
You can use any sort of hard little tool to just work the carpet into the ridges. This is a little trim tool. It's basically a process of spraying this stuff on the wheel arch and any metalwork where you want the carpet to stick, spray it on the back of the carpet as well. Leave it for 30 seconds. And then you just start working it on. So I'll just show you how to do that.
So I'm just starting off. This is quite good these aerosols, 'cause they've produced a nice kind of spread out web pattern. So you just wanna get it all covered. You don't wanna go too thick on it. And I'm gonna wrap this bit of carpet all the way around to the door opening. Get it right the way around there. You'll notice I've taped off where the jack is normally gonna be screwed on. But actually, when this van is finished, I'm gonna store the jack underneath the double seat probably.
Okay, so that's the wheel arch done. And then we get on and do the carpet as well. Now I've already pre-measured this carpet obviously. It's quite easy to underestimate how much carpet you need. So make sure you measure up, at floor level, exactly how far around you want this to go. And I've also measured from the floor up to the top of the wheel arch area, so hopefully, I should have enough carpet to do this. Okay, so that's that done.
Okay, so this point here, you've got to make sure you've got your carpet in the right place so that you don't run out just before you need it. I'm gonna wrap it around here to the back corner and take it all the way to the door, so you get it in the right place. Make sure you've got enough to come down to the floor there, and I'm just gonna start in the top middle, and you just work it on with your fingers like this.
And the beauty of this four-way stretch carpet is that when you get to a tricky bit, you just simply pull the carpet like this, pull it in the direction you want and it'll stretch the fibres apart so that it goes into all the little grooves and shapes on the wheel arch. So you just take your time. Now if this was a non-stretchy bit of carpet, I'd be getting wrinkles here, but as it is, I can just pull that down and work it with my fingers like that. You can already see it starting to take shape, and I'm gonna come up to here.
Now, the reason I'm not doing the whole side of the van in one piece is because I've got these, I've already carpeted panels that I'm gonna screw on to cover the rest of the van. So again, at this point here, I'm gonna just stretch that down, work it into these grooves. So anytime you think you might be getting a wrinkle, you can also peel it off a little bit and stick it back on again and don't get too worried 'cause if it all goes horribly wrong, you can peel the whole lot off and start again.
And this carpet, this four-way stretch carpet that we sell, the easy liner is I believe available in six different colours now. This is the anthracite, obviously the dark one. We also do a smoke and a silver. I think we do a wheat one and maybe even a blue one. I'm not sure.
Just gonna stretch that down in there. Get around that bend. Now we're nearly done to floor level here, so I'm just gonna run that down into the corner. This is when you really need that stretchability, and you can see it starting to take shape. Okay, I'm doing well. Looking good.
I think actually you'll be quite surprised how easy this is once you start. It's one of those jobs where you're kind of put off a bit mentally before you start it. But once you have a go, it's not too bad. It's almost therapeutic 'cause it's a really quick and easy way to suddenly make your van look a lot more presentable.
Right, let's speed this up a little bit 'cause the whole job took, I guess I don't know, 20 minutes, 30 minutes for this wheel arch. So just finishing off here, it's quite tricky on the final corner just to get the wrinkles out and then also trimming off any excess here. You're gonna need a sharp Stanley for this. You might have to change your blade every so often and then a little fiddly bit just around where the jack goes as well. Obviously, the other wheel arch doesn't have that, so it's a bit quicker.
And just to say the high-temperature glue is well worth using 'cause if you use normal glue then on a hot day you run the risk of the whole lot just melting and falling off. So there we have it. So that's that job done. We'll just take a little look-up close at it, show you the finished product. So I've gotten into the corner there, and I'm gonna do a cut-up that seam and join that.
Carpet is all nicely moulded around the wheel arch. As I say job probably took a boat 20 minutes, half an hour, I come up to this door reveal here and then the knock-on rubber door trim is gonna go around there and hide that. And I'll do a cut along that seam and join that in there. Hopefully, this has been of some use to you. Oh, one other thing down where the carpet joins the floor. If you imagine you've then got your floor that goes in after you're gonna get a nice finish there. 'Cause we've done right down underneath the floor.
I've been Mike from Kiravans, that how to carpet a wheel arch. All the products are available on the website, Kiravans.co.uk. I'll see you next time. Next video is gonna be finishing off carpeting the whole van. All right, thanks a lot. See you later.