*New and updated! Thermo Acoustic Insulation video here: https://www.kiravans.co.uk/blogs/videos/how-to-line-your-campervan-with-thermo-acoustic-insulation-foam
_______________________________
Old video:
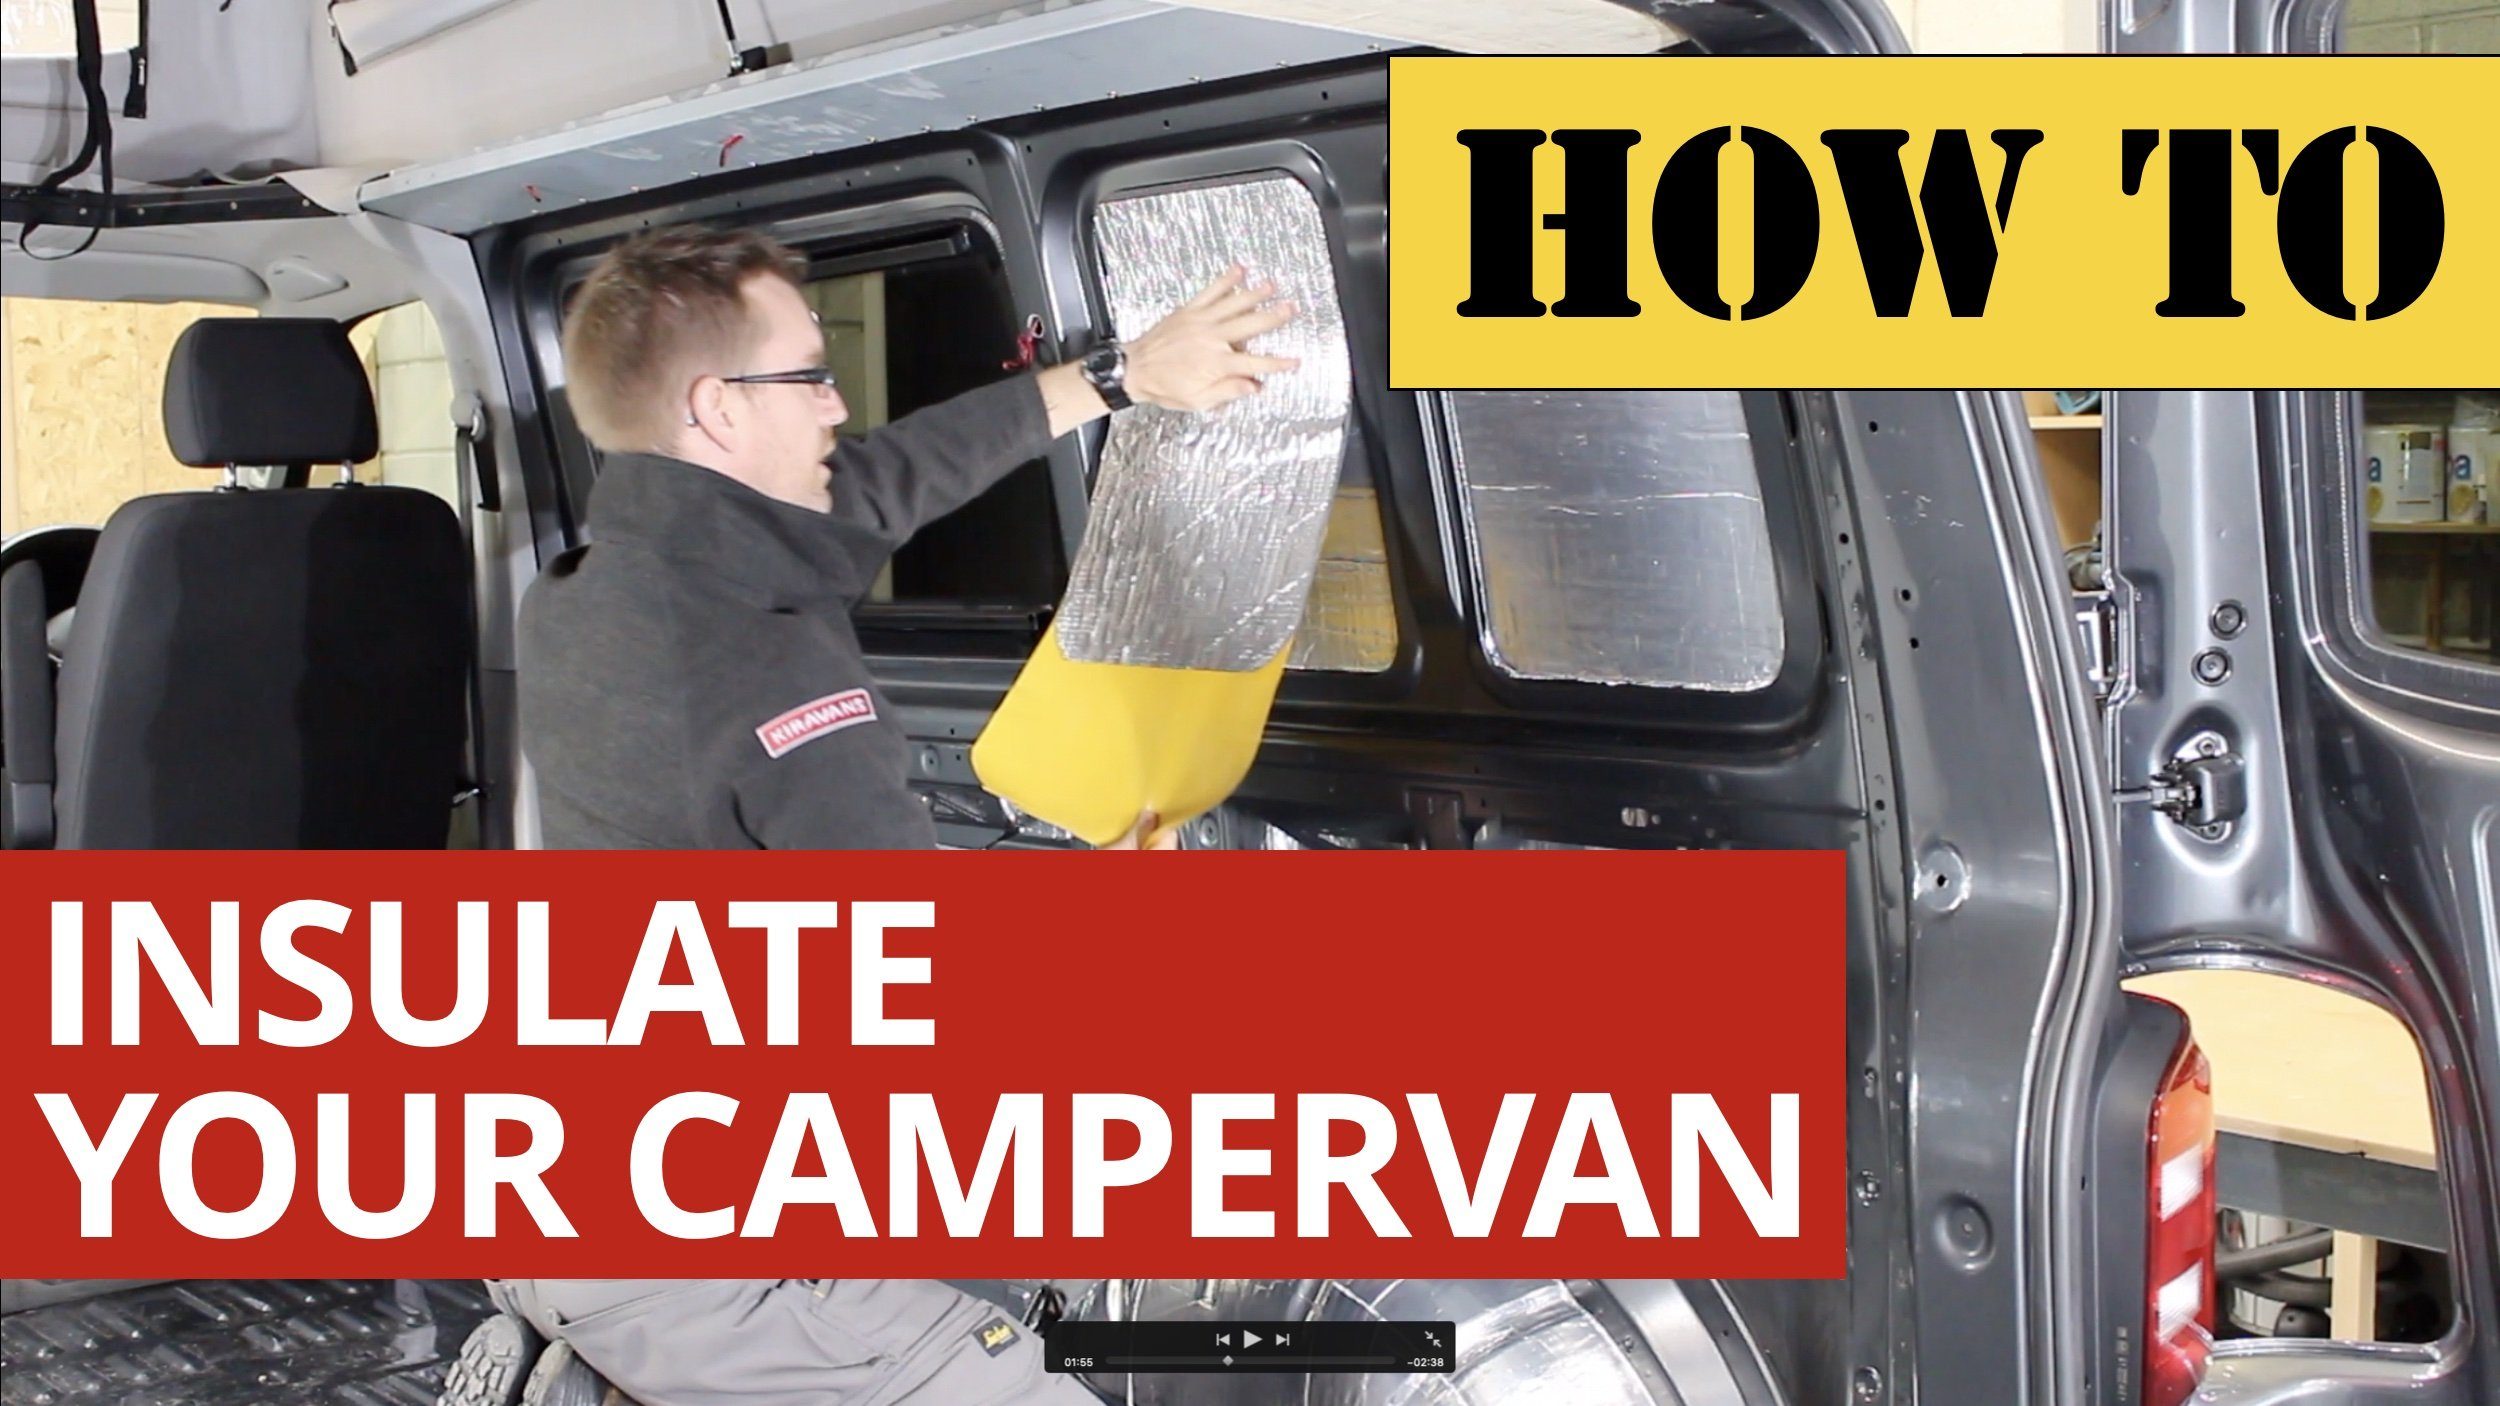
Here’s our helpful ‘How To' video that takes you step by step through the process of insulating your campervan and tells you everything you need to know for your DIY campervan conversion.
Insulation is very important if you want to be comfortable in your van whatever the weather so sit back and watch our Kiravans installation video so you can get your van converted and on the road in no time!
Video Transcript
Today we're looking at insulating our campervan.
So far in our project van we have taken out the bulkhead, put in our windows, and stuck on some sound-deadening mat on the inside of the panels.
Today we're looking at thermal insulation, and for this Kiravans recommends our Thermal Insulation Foam. It has excellent thermal properties and will also help to keep your van quieter whilst on the road. It’s basically a sticky back foam, seven mm’s of closed-cell construction, which is good because it means it's not going to absorb any moisture, any condensation that might happen to get into your wall cavities. And on the inside you've got this heat reflective silver layer.
It’s a very simple, straightforward, and effective product to put on, easily cuttable with a Stanley knife or a pair of scissors. And in the areas where you can fit a bit more, you can put two or three layers to improve the thermal property.
It’s going to come on a roll like this which is just over a meter long. And what I'll do now is just see how I get on in the back of the VW T6 van and let you know how much I use. So let's take a look and see how easy it is to actually stick it in.
Just like with the sound deadening mat, we start off by measuring up our first section. Back over to the roll of insulation, mark it out with a tape measure and a marker pen and then you can use a Stanley knife or a pair of scissors to trim it to size.
Back inside the van, just make any final adjustments and then it's very simply a matter of peeling the backing off and applying a good, firm, even pressure over the whole sheet. Now, obviously I've speeded this up because it's gonna be pretty tedious to watch me stick this all over the inside of the van.
Basically, any hard-to-access areas like this you can chop it into smaller bits and feed them in. Any large bits, fairly straightforward. So I've done inside the barn doors as well as I could and then all the other cavities. One single layer of insulation everywhere I can reach took three and a half meters off the roll and it's a one meter wide roll.
Now what I'm going to do is go through and double up or triple up wherever I can in the easier areas. Okay, so that's the insulation done on the van now.
I've been through and put a second layer of foam wherever I could in the larger areas. So I've used about five square meters in this panel van conversion.
Now this van has got quite a lot of glazing in it. All of the windows have glass except for the rear quarter panel. I haven't done the roof because it's got a pop top and I will put some insulation under the plywood floor when I get to that stage. But you can work out roughly how much you're gonna need for your project from those figures.
The job itself took, again, about half a day to stick in all the insulation. And when it comes to insulating these vans there's a few things to look out for…
Try not to choose something that's going to potentially absorb moisture because you may get condensation in the wall cavities. So stay away from the sort of rock wall stuff that might soak up moisture and then potentially rot. And obviously with so much glass and roof, it's going to be impossible to do a completely brilliant job on the insulation, so what I find is that if you are camping at the colder ends of the seasons a little diesel heater or a gas heater will make it a lot more comfortable.
But, hopefully this will help you with regards to how to insulate your van.
There are lots of ways to do it. This is one way to do it. It's quite quick and simple and a clean process and will make a big difference to the noise and the warmth.

