Video transcript
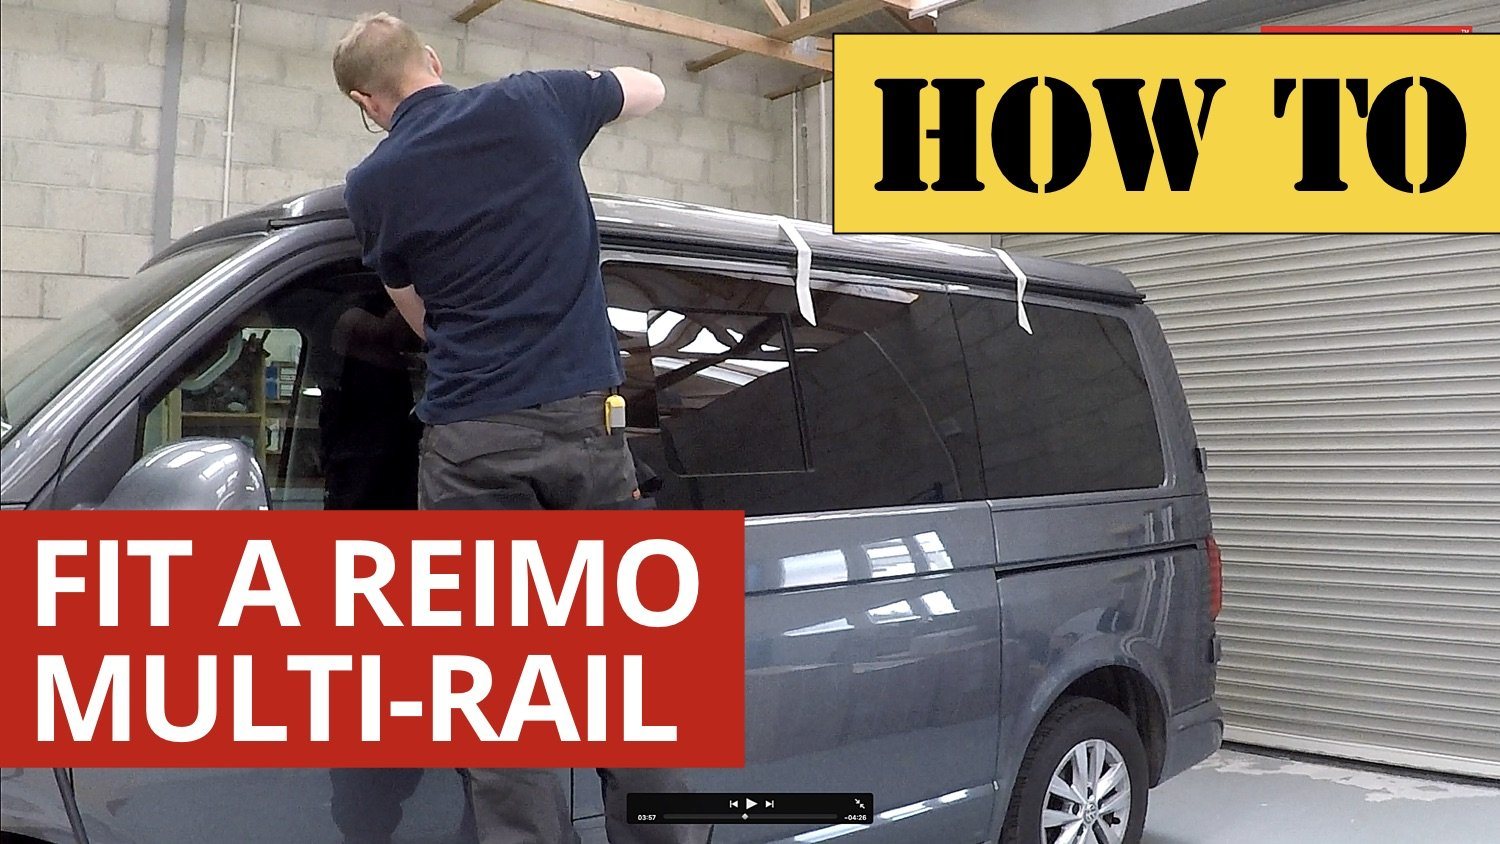
Hi folks, today we're looking at fitting the Reimo multi-rail to the T6 van. This rail will fit the T5 or the T6 van, and it is slightly pre-bent to make that job easier, to make it fit the slight curve of the van.
The rail does three main jobs, it's got a channel for a K-door strip to slide in to attach an awning to your van. It's also got this gutter on top which serves two purposes, if you have a propped up roof, it'll catch the rainwater that comes off, and funnel it off to the front of the van. Or the other way of attaching an awning is if you have a steel pole that goes through a sleeve, you can clamp it on here as well.
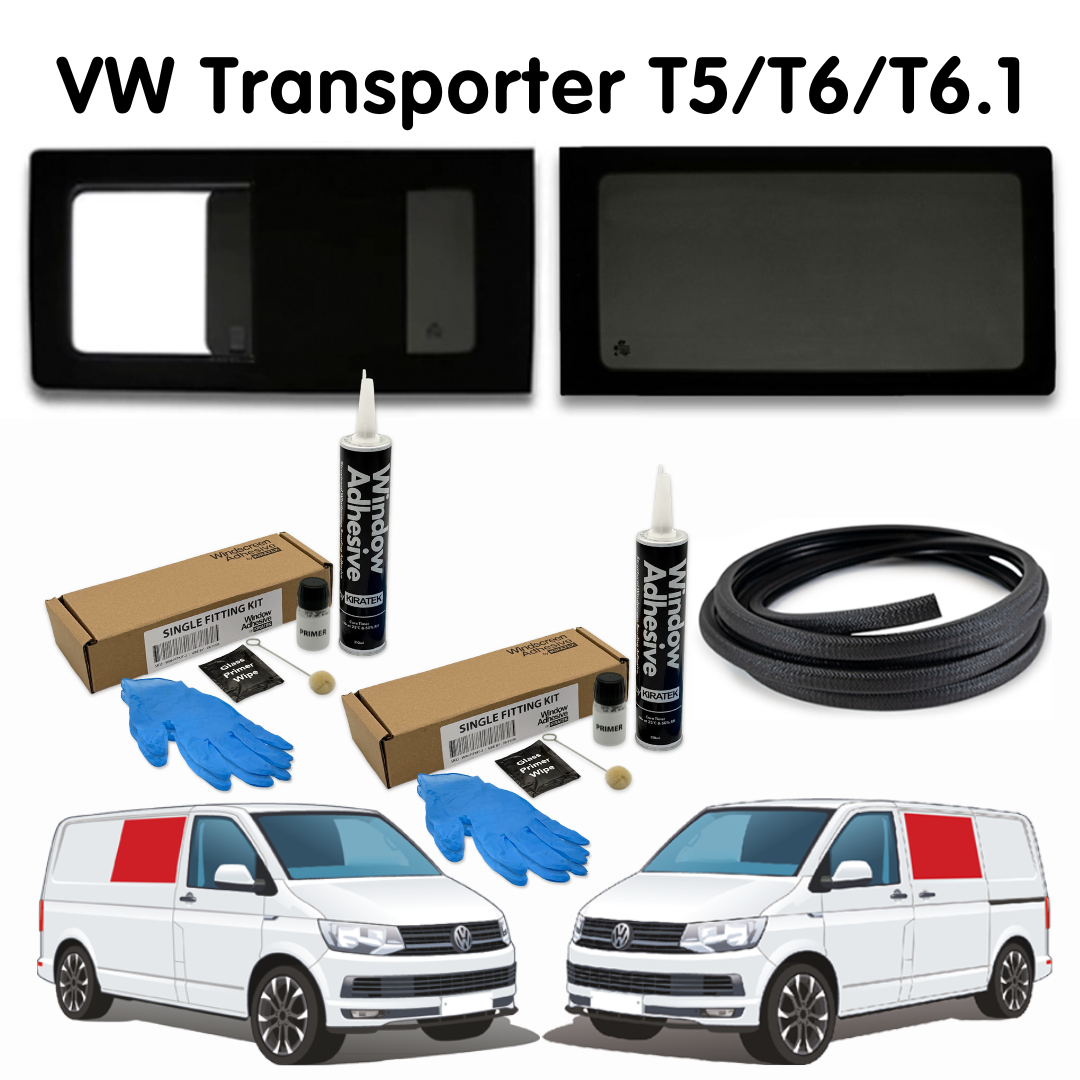
So this rail basically we've gotta fit above the windows all the way along the side of the van. To do that, you will need your rail which comes with a kit. In the kit we have a set of instructions. Now these are in German, but there are some small photographs which do help. You've got some screws. This is the rubber profile that channels the rainwater down onto the windscreen. And this is the little end cap for the back of the rail. And then you've got a little alcohol wipe which you just clean the paintwork with before you stick these onto your van.
The rail itself needs to be glued and screwed. So the screws are included, you'll also need to get hold of some vehicle bonding agent. And at Kiravans we sell this Sikaflex 252, and a bottle of primer as well. You don't need very many tools to do this job. A bit of panel de-greaser just for cleaning off any oily residue or polish before you start. Some blue roll, a drill, screwdriver, some drill bits. I'm gonna try and do this on my own today 'cause I know a lot of you might be doing this on your own, so we'll try it with some masking tape and see if we can make it work. I've also got a marker pen and a screw driver. So we'll take a wander over to the van now and see how we get on.
Okay, so as with any of these jobs, where we're trying to bond something to our vehicle, it's always worth starting off making sure you've got a completely clean and grease free surface. So I'm using some panel wipe here to get rid of any oily residue or any polish that may be on the van. You can use your alcohol wipe for that as well. First, position your end profile, now this is so that you can mark the end of your metal rail. So you want the very nose of it just overhanging your pillar there. And then put a small marker pen mark on the van paintwork. And this is gonna be the front of your actual aluminium rail.
Now to do this on your own, you're gonna need to put some masking tape loops up onto the roof of your van. And then we're gonna offer the van rail up and try and get the very front of it in line with our mark that we've just made. And then just hold it temporarily in place with the tape loops.
Now in terms of height, you probably want it about, I don't know, five, 10mm above the sliding door bodywork line. And then once we've got it held in place like this. I find it best to go for one of the middle holes first, drill through the bodywork and then use one of the silver self tapping screws. I think my drill bit was a three or a three point two mil metal cutting bit. And then from there, I tend to go to the front of the van. And basically you wanna line the rail up with the bodywork line above the sliding door. And I just go along, mark and drill and screw those holes. If you want to you can mark the holes with a marker pen, then take away the rail. Use a center punch and drill and then screw the holes. So what you're left with is a series of holes along the top of your van like this.
If you've got a compressor, blow away any metal filings, if not, you could always tape up round the windows to begin with. Now although the rail is probably grease free, it's always worth giving it a clean before you put your primer on. Now this is aluminium, now aluminium won't rust but it will start to oxidise over time. Which will give you that sort of dusty surface to the cut end, so I always think it's worthwhile just putting some primer on there. And then go along and put a decent strip of primer right down the middle of the back of the rail where the adhesive's gonna go. Give your van another little rub with the alcohol wipe and then, because we've cut into the bodywork, it's always worth putting some primer or rust proofing agent in the holes. And then just below the line of holes I'm going along with my Sikaflex primer again and putting a nice stripe right the way along where the rail is gonna sit.
I've got a notch to nozzle here, probably about a dunno, a 10mm high bead of adhesive going on all the way down the back of this rail. And I just put it in the middle. You want enough that it's gonna contact the van, but not so much that it's gonna squirt out everywhere as you put it on. And then because we wanna try and waterproof these holes as much as possible, I always put a dab of adhesive in the holes as well. Now the nervy bit, you're gonna try and stick your rail onto your van.
So try and line up one or two of the holes on the rail with the holes on the van. And then get some masking tape loops to hold it in place while you put your first screw in. At this point, you're gonna be using the black Torx headed screws. And you can just put them in loosely first and work your way along and then when you get to the end here you'll find your screws, we need to pull in quite hard to match the curve of the van.
Okay, so that's your rail in place. Now we're gonna stick on the front plastic profile. So again, bit more de-greasing. You can save your alcohol wipe by putting it back in the pack. Take off the backing strip. Now if you want to you can put a bit more adhesive on the end of the metal rail before you stick this on. And again, you position it so at the end of it, it's just gonna overhang your windscreen pillar and channel any water down beside the screen. Take off the remaining backing strip and then you just wanna press it firmly in place. It's not too hard this bit. The profile kind of goes where it wants to go anyway. Press it down hard.
And to finish it off, you could put some black sealant or some clear sealant along the top to, basically you wanna try and avoid any water getting in behind the rail or behind the profile. And then do the same at the back. Bit more de-greasing.
So on this one I'm showing you putting on some adhesive just on the end of the rail. This will just stop any rainwater dropping down between the rail and the plastic profile. Again, take off your backing strip. And you need to try and get the two pieces butted up really close together at the same time as making it stick to the van. And again, firm pressure and you'll find it goes on quite easily. If you've got any excessive adhesive, get it cleaned out. You can use your alcohol wipe.
And this is the finished article at the back of the van. So hopefully this video has been helpful to you. And you'll be able to go ahead now, leave it there for 24 hours before attaching anything to it. And, it'll be good to go. You can put your awnings on there and really enjoy your new addition to your van. Thanks for watching. See you next time.