


Description
What you'll need:
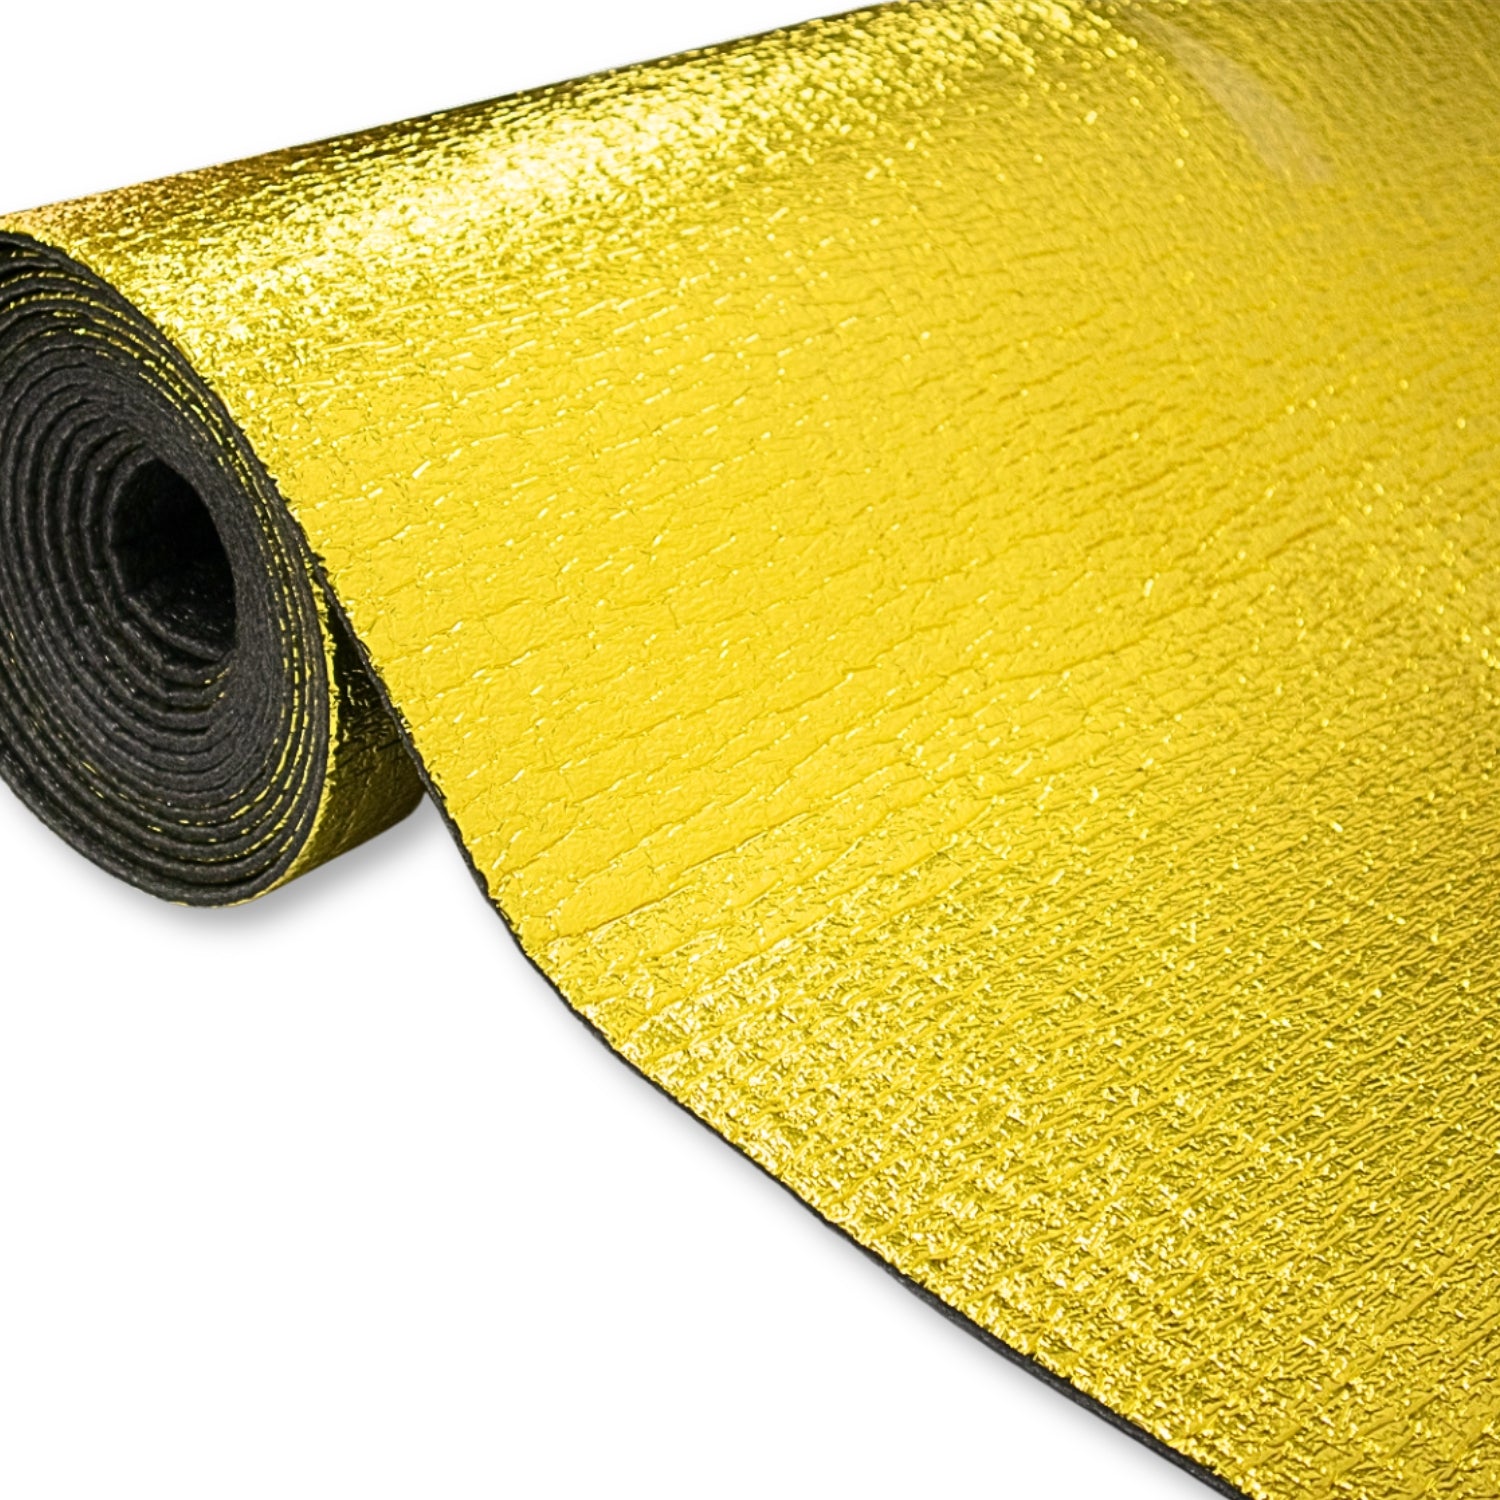
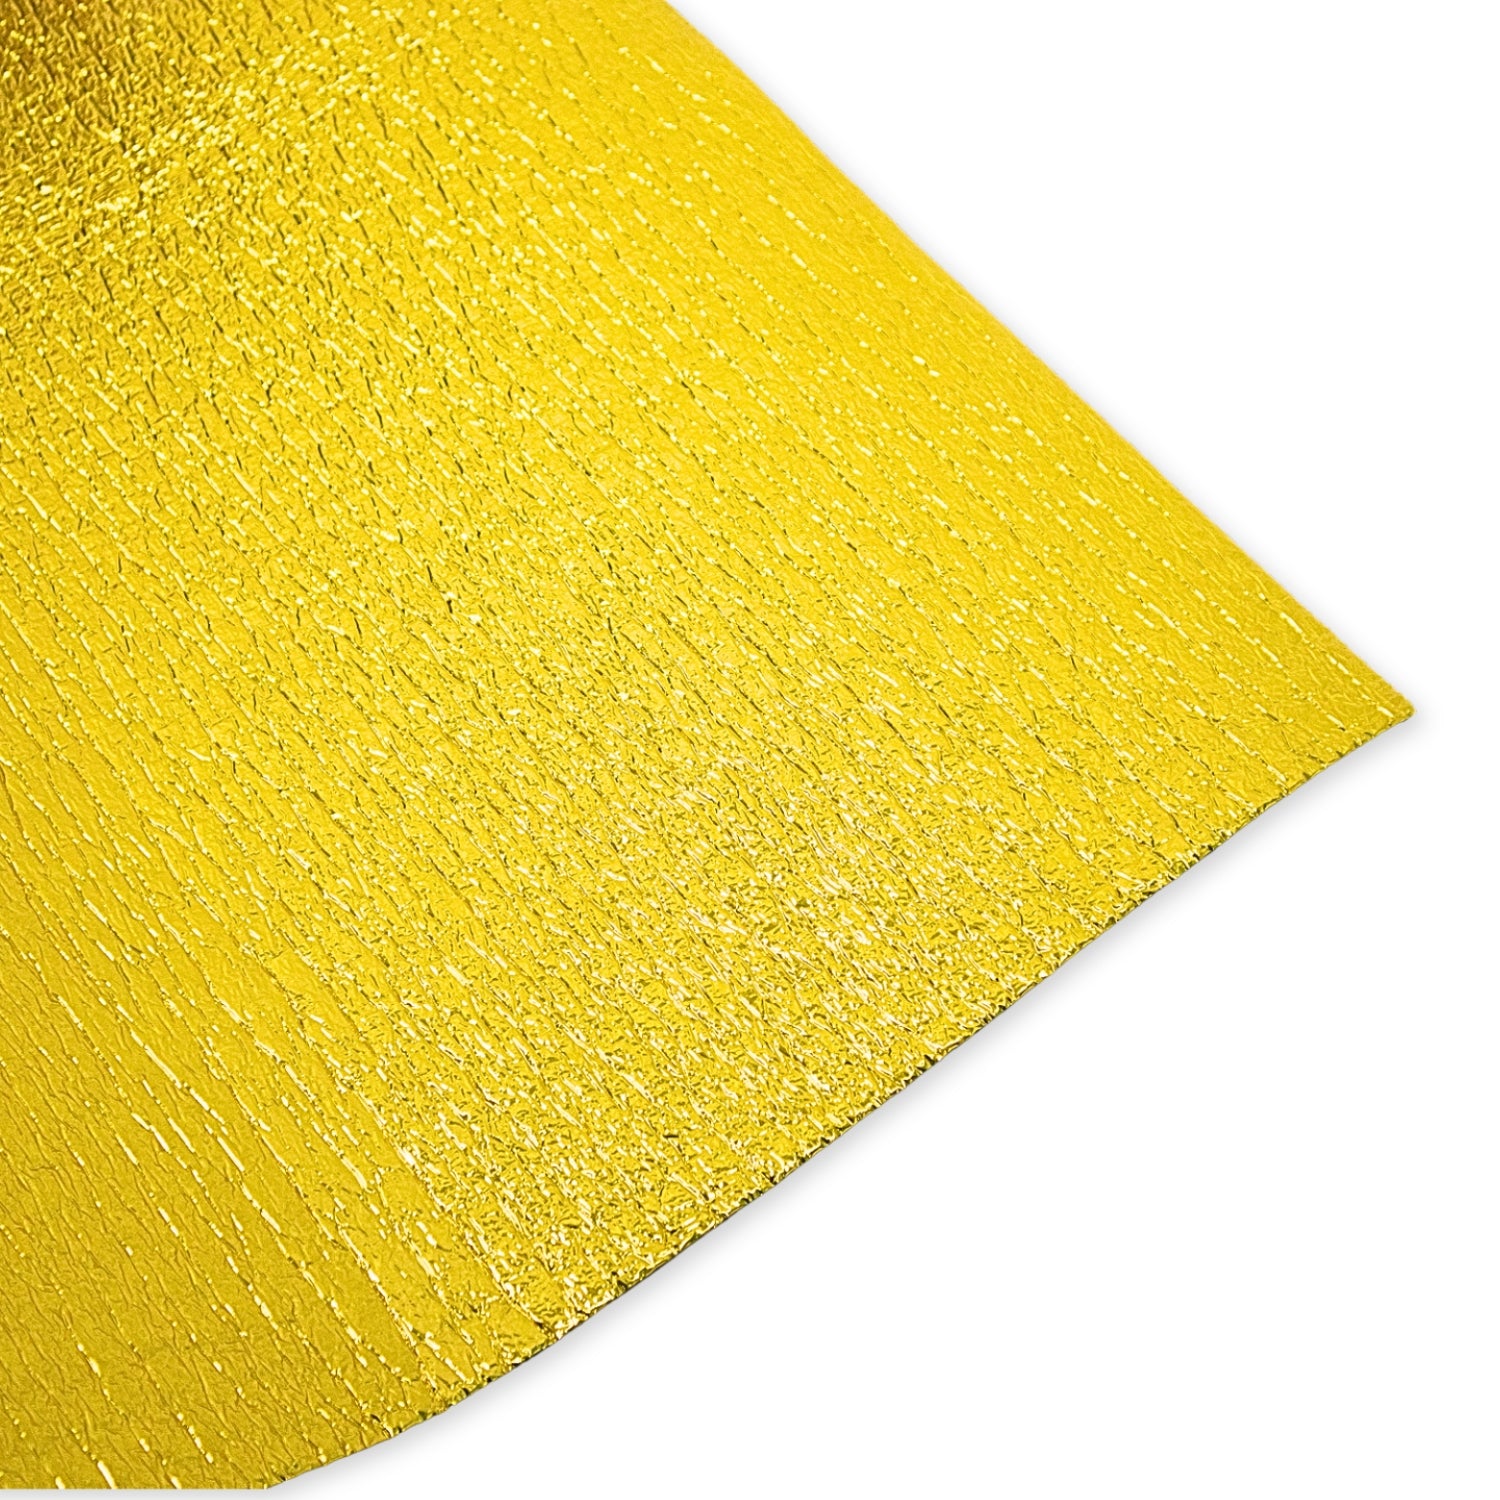
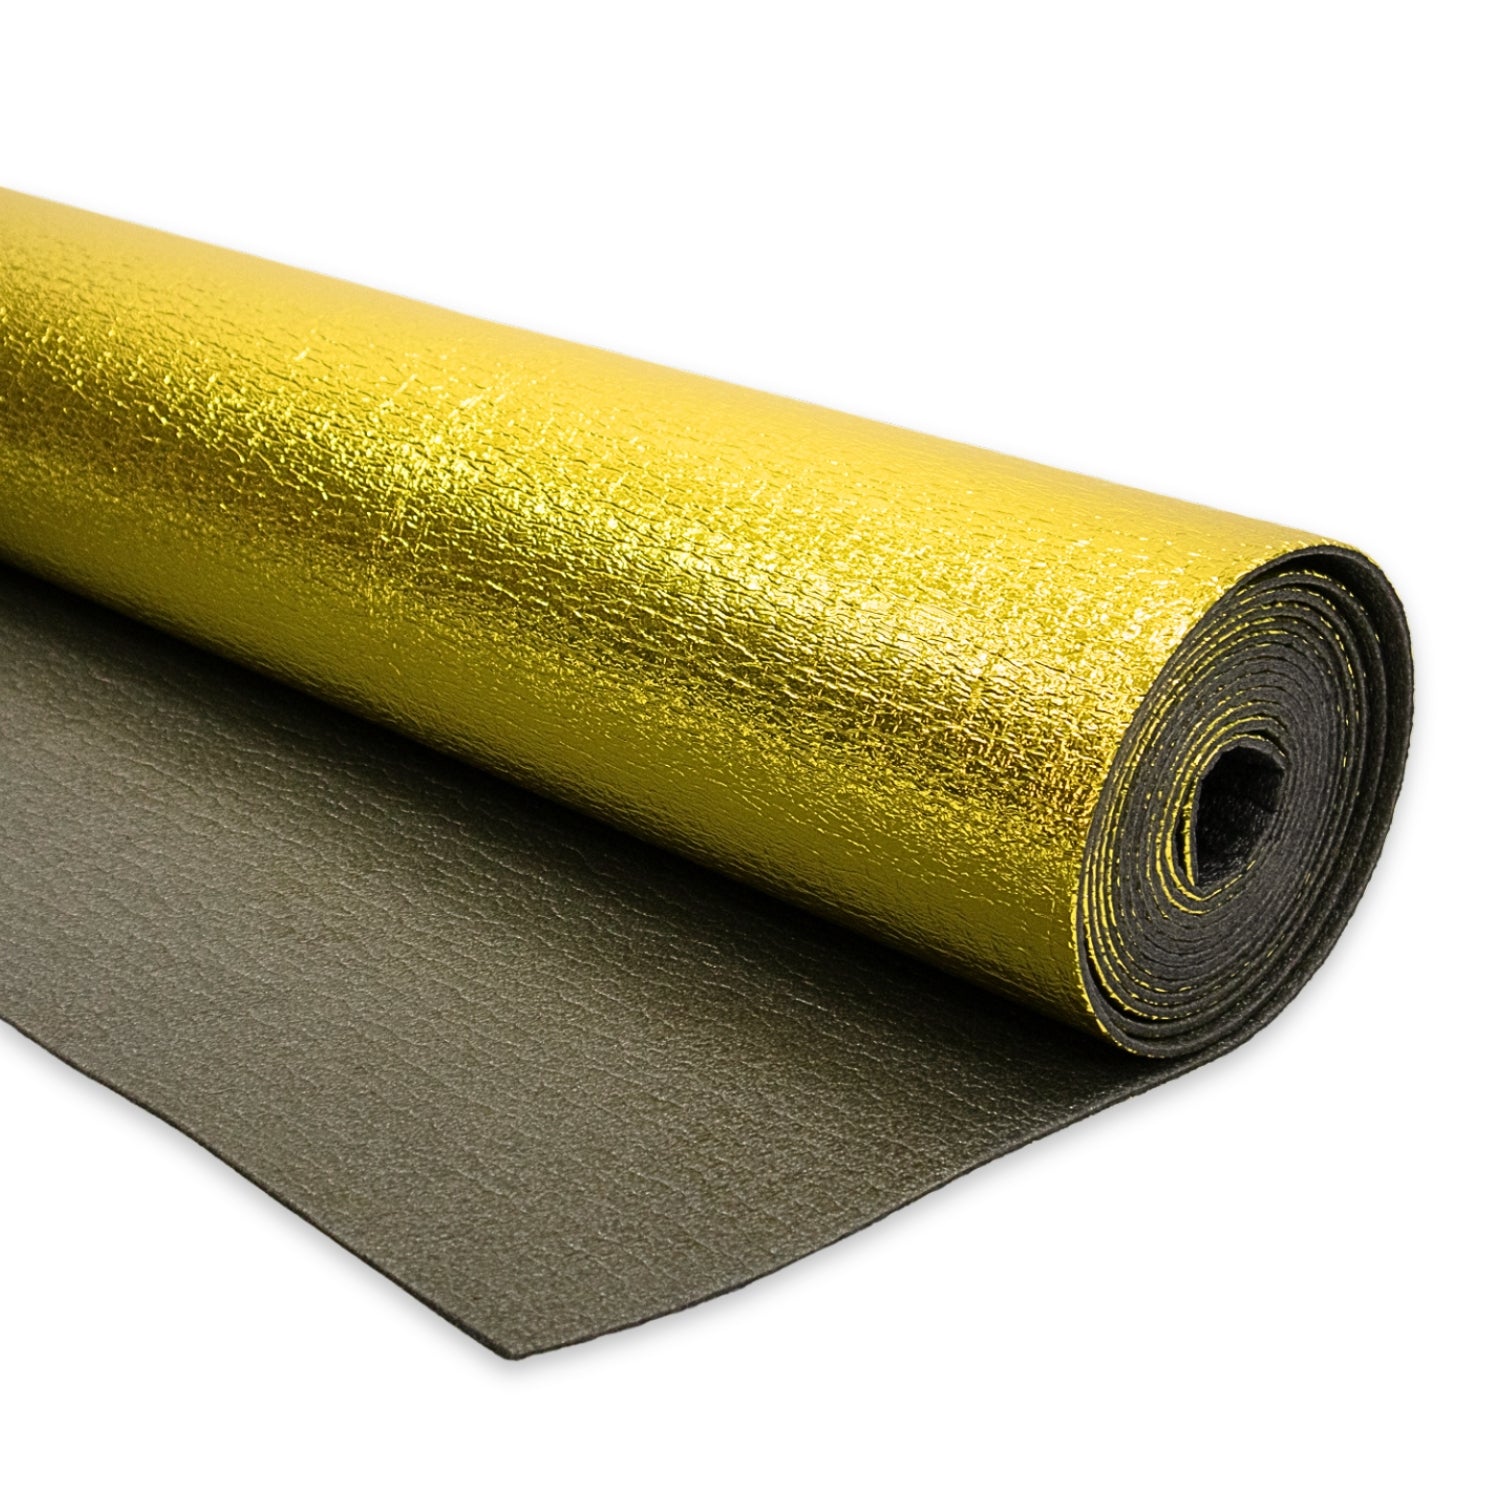
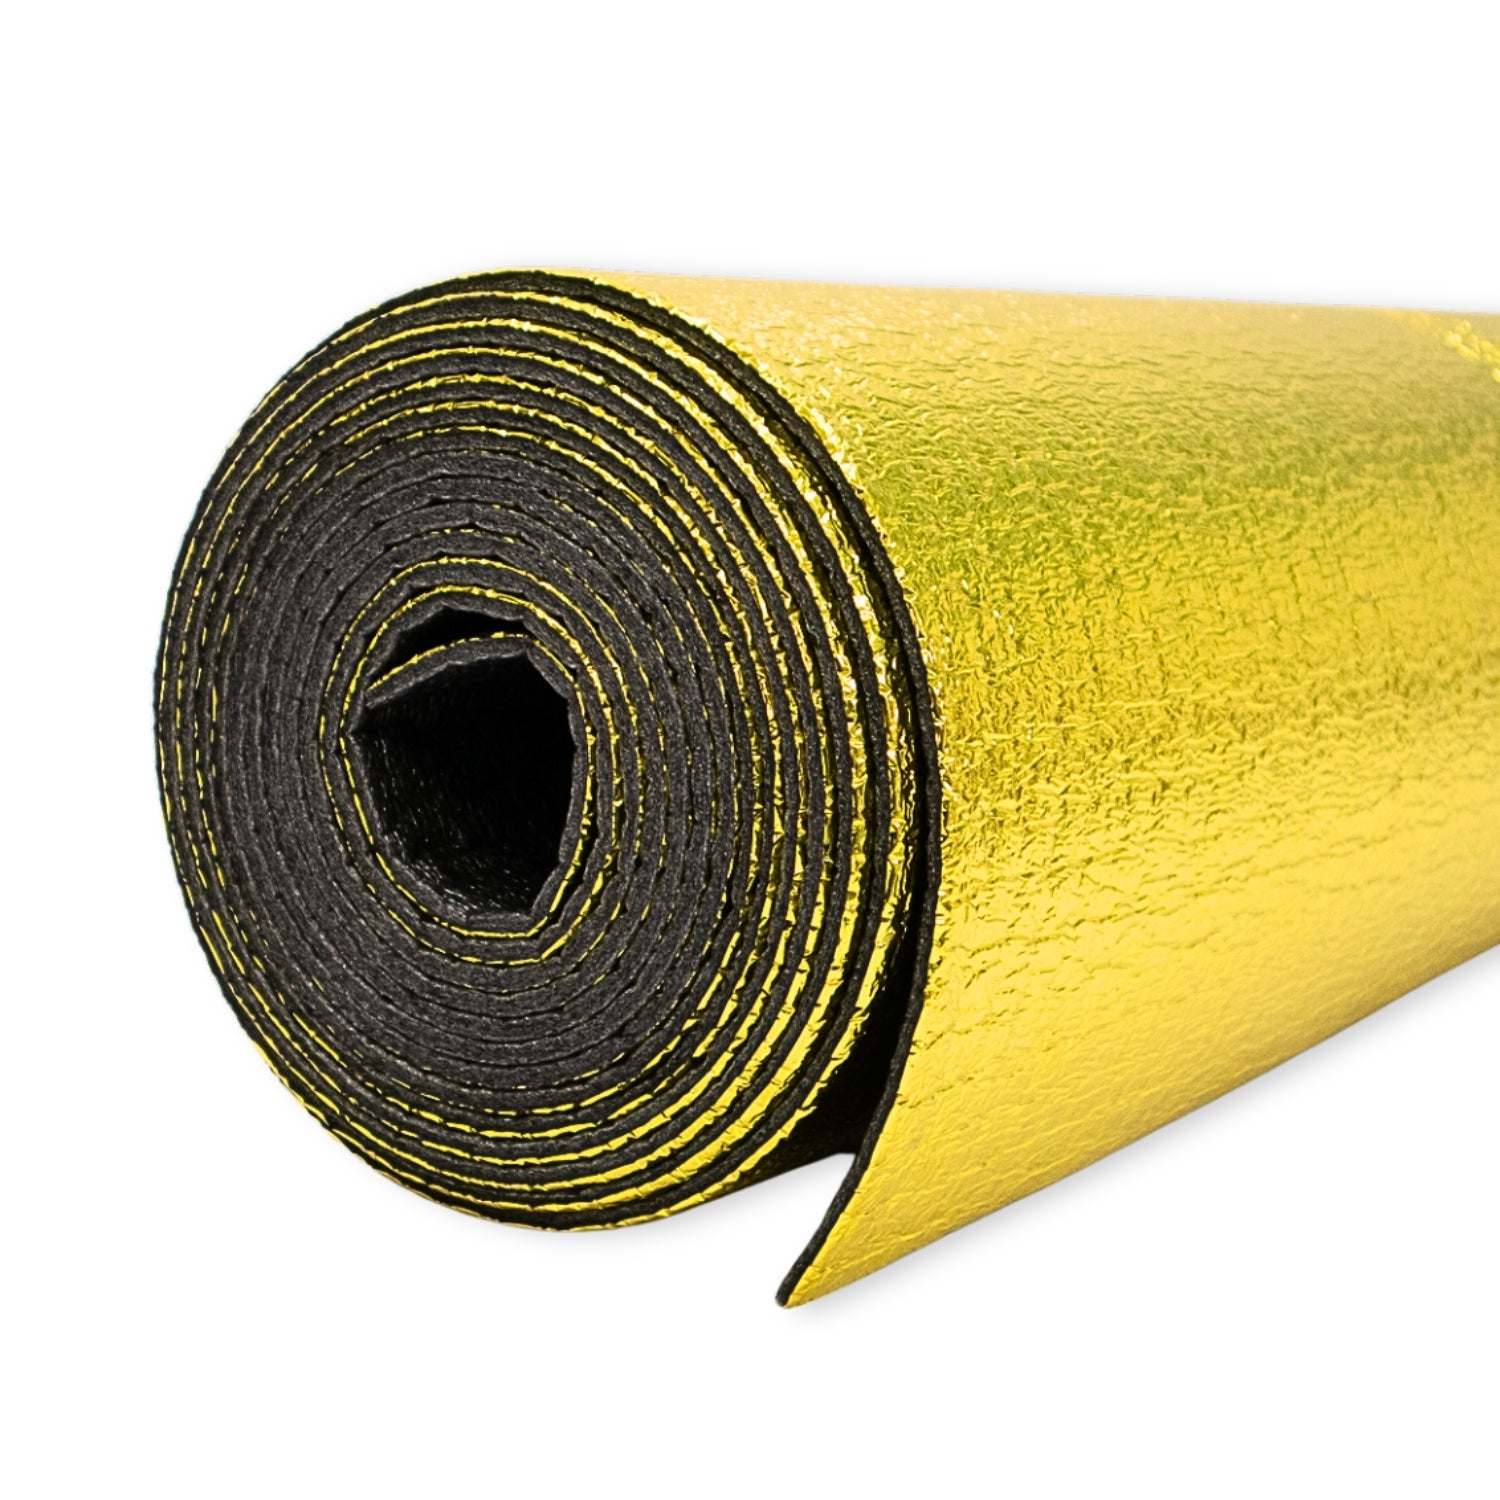
- Gold Underfloor Insulation
- High-temperature spray adhesive
- Utility knife
- Tape measure
- Degreaser + clean cloth
Tip: Install in dry, room-temperature conditions for best adhesion.
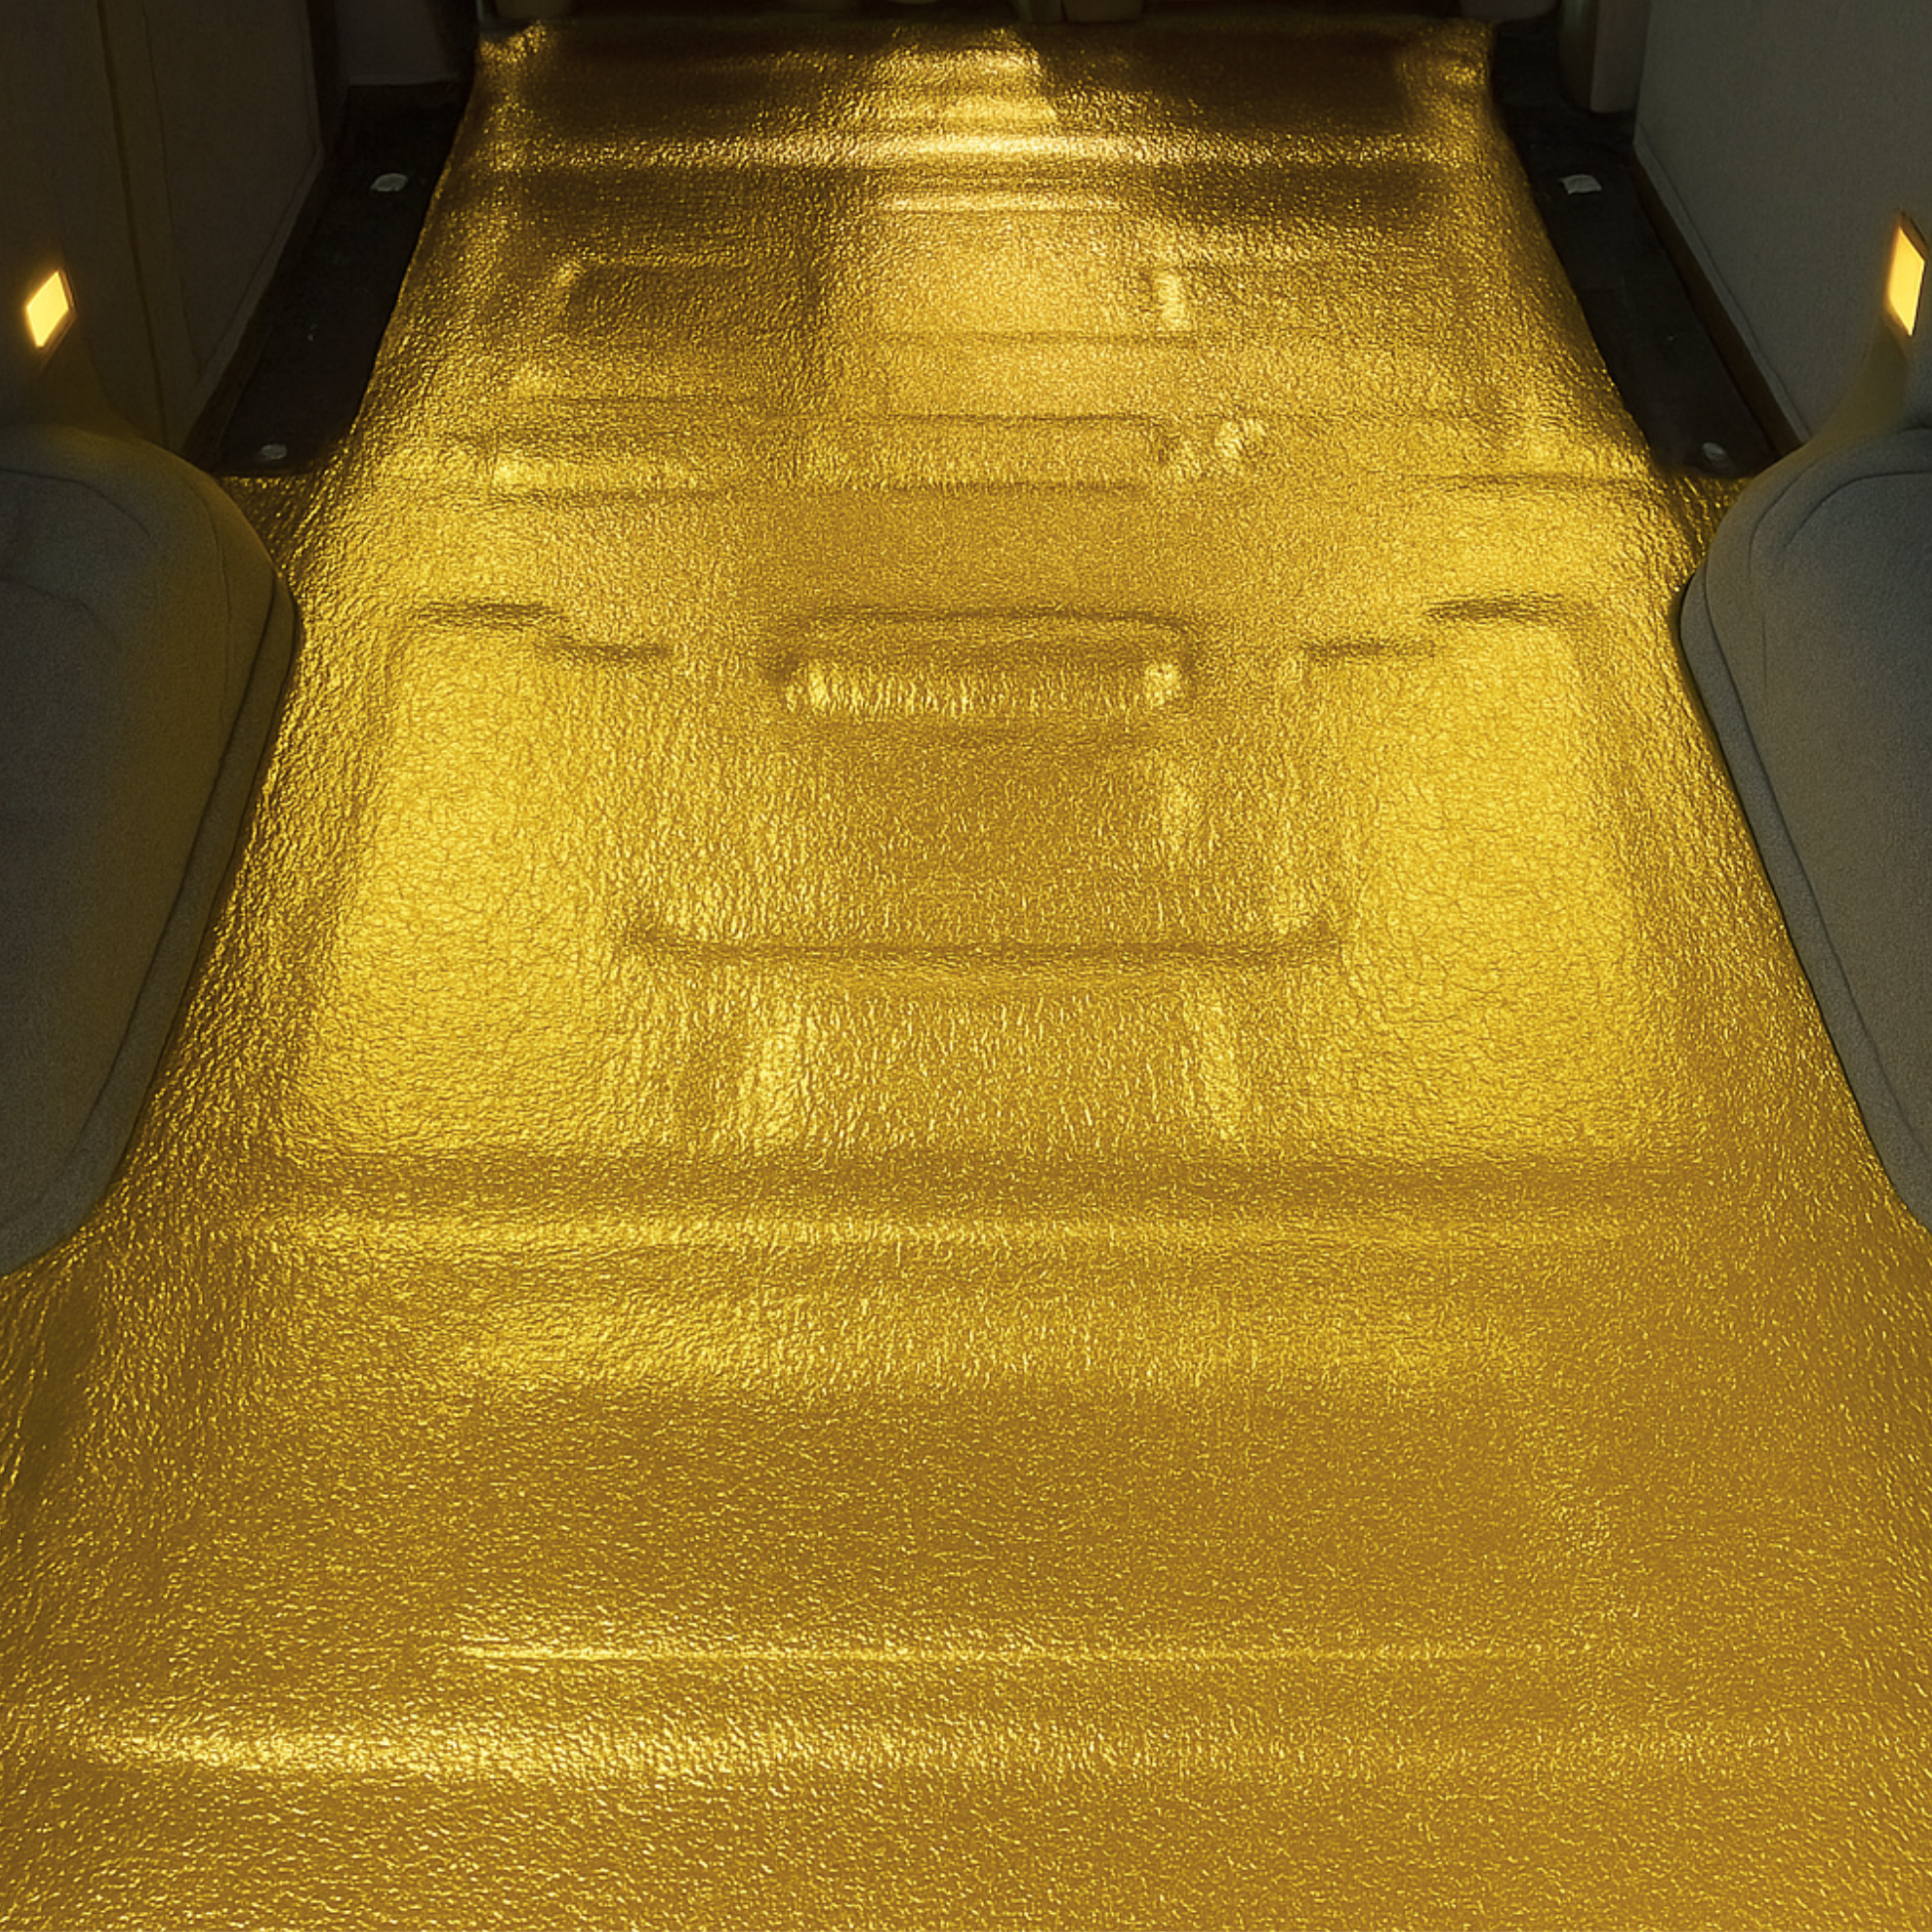
1. Prepare the Floor: Sweep / vacuum any dust and debris. Wipe the metal floor with degreaser and allow to dry fully. A clean surface is important for the adhesive to stick.
2. Roll out & Cut the Insulation:
-
Roll the insulation out across the entire floor area. Allow it to settle flat for a moment - this makes cutting easier.
-
Roughly position it into place.
-
Cut around obstacles such as wheel arches, steps, seat mounts, or any floor reinforcements. Use a sharp utility knife and make slow, controlled cuts. Lift or fold the insulation back slightly where needed so you can see the outline clearly.
-
Check your fit frequently.
As you cut, press the sheet down temporarily to make sure it settles nicely into floor contours. -
Trim the edges for a snug finish.
Once everything is sitting flat, tidy up the perimeter by trimming flush to the walls or ribs.
Tip: Large sheets can be bulky. If the piece becomes difficult to handle, don’t hesitate to cut it into two sections to make fitting easier - it won’t affect performance.
If handling large pieces feels awkward, you can also cut the insulation into smaller, more manageable sections. This makes it easier to position the material accurately, especially if installing it without any help. Smaller offcuts can also be used to neatly fill any remaining gaps.
3. Apply Adhesive & Fix the Insulation
- Work in manageable sections so the glue stays tacky.
- Spray a thin, even coat of adhesive on both the metal floor and the back of the insulation.
- Allow 30–60 seconds for the adhesive to go tacky.
- Press the insulation firmly into place.
- Smooth from one edge outward to avoid air pockets.
- Ensure it is fully stuck down over ridges and corners.
4. Add Your Flooring
- Lay plywood or your finished floor covering directly on top.
- If using wooden battens, place them on top of the insulation (not on the bare metal) to maintain continuous insulation.
▶ Guides & Downloads
You can return any purchase, for any reason, up to 90 days after purchase, for an exchange or full refund.
Our 'No Quibble' Promise: Kiravans provide a comprehensive Returns Policy. We don't believe anyone else in our industry comes close to offering the same promise. Would you believe we don't even have a 400 word returns policy? It's just 2 words; No Quibbles. That's it. We treat our customers with respect and we hope that you trust us in return.
Fantastic Customer Service: It's in Kiravans DNA. As a bunch of enthusiastic, professional Yorkshire people, our customer service team have a straightforward approach to problem solving. If you have a question or need advice, we're here to help. Just give us a call on 01535 661 273 or use the live chat button. If we know the answer we'll tell you, if not we'll find out for you.
We've been specialist suppliers of campervan kit for 15 years now: We know what we're doing. We're not a campervan converter selling a few extra items on the side. Nor are we a big e-commerce company shifting van kit alongside toasters & fidget spinners. We know how to get your items packaged, shipped and delivered to you safely, securely, reliably and fast.


Want to make a return? Check out our returns guide here.
Payment & Security
Your payment information is processed securely. We do not store credit card details nor have access to your credit card information.