Video transcript
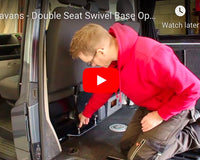
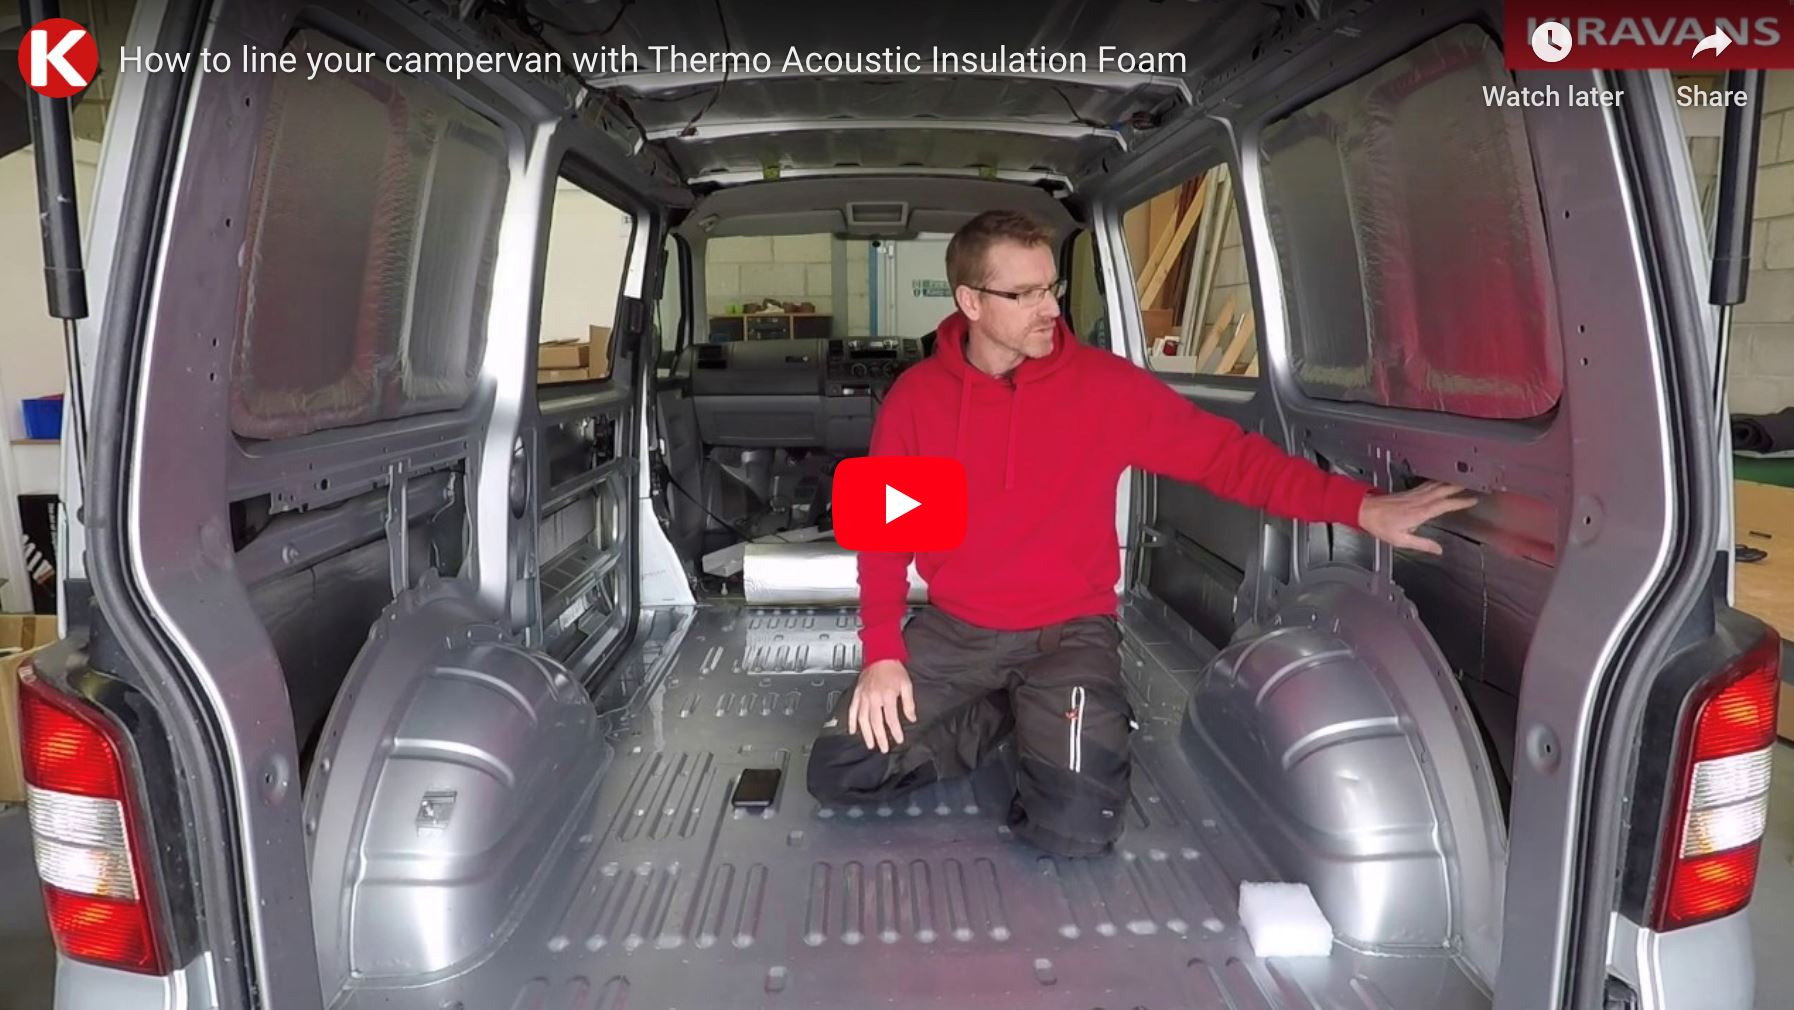
Hey guys moving on to step two of lining and insulating our van today. So we've already put on our sound deadening mat which is going to help cut down on the road noise and the sort of echoey-booming noise that you get driving along from these flat panels. Today we're looking at the second layer in our system, which is our thermo-acoustic foam.
Now as the name suggests, thermo, it's going to help to keep your van warmer in cold weather and cooler in hot weather. Acoustic, it's going to help to soundproof your van because of its density.
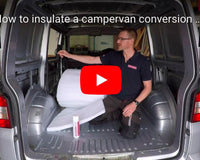
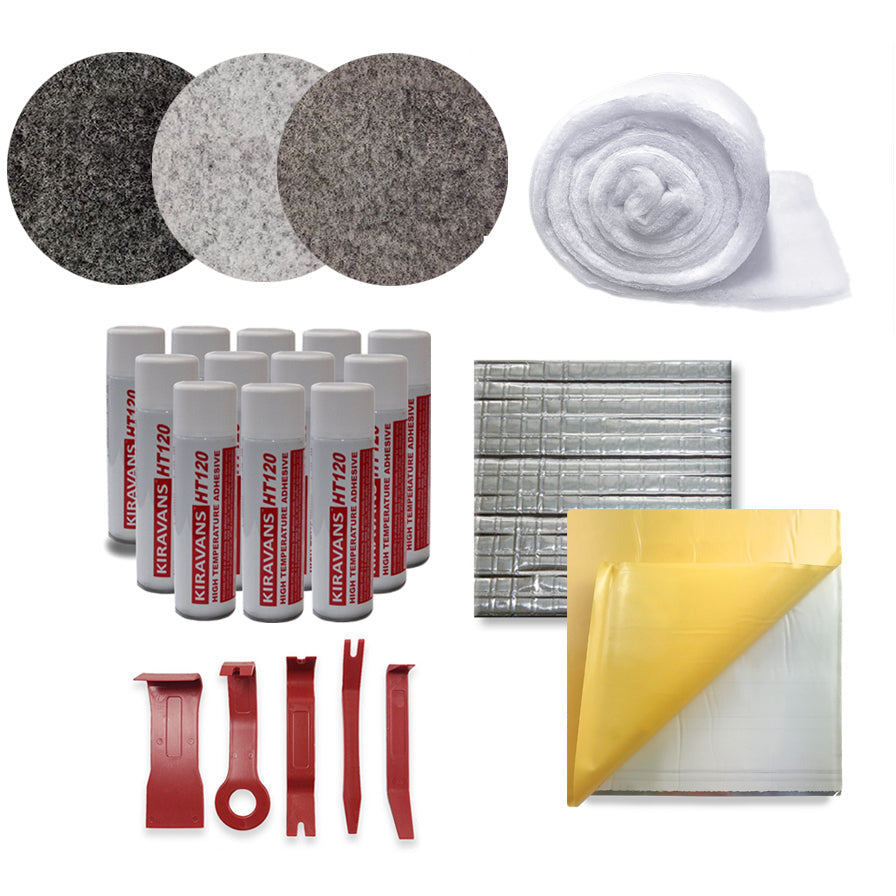
Now this is a seven millimeter thick closed cell foam. It's got the foil on the inside. So that's going to face into your van and it's got a paper backing, which you simply peel off to reveal the self adhesive layer there. It's nice and soft, it's malleable, so it'll mould over the creases in your van. Now this is a good point, just to show you the context of where this fits into the system. So I've made this little sample panel here. So in our recommended system for lining out your van, you've got your van metal work here, your sound blocker there, which deadens the panel, then we've got this layer, this is the thermo-acoustic foam, which also creates a bit of a moisture barrier because if it's cold outside and warm inside you've got the potential for condensation to form. So this isn't going to absorb any of that.
And then in the next video, I'll move on to the thermo-filler layer, which is a lofting layer, you can think of this as your puffer jacket or like a duvet layer for your van almost. It's going to trap the warm air and keep it nice and cosy. And then on the inside you're going to look at, this is more of an aesthetic layer, this is your stretch lining carpet over your plywood panels. So this might seem like a bit of overkill, but actually each one of these products does their own job very well, and by combining them you get the best possible solution. So that just shows you where this layer fits in.
So, to put it on, it's very straightforward, you don't need many tools, a sharp Stanley knife will cut this stuff. And you basically you take it off to the bench, you measure up your area, take it off, cut it to suit and stick it on. You can also, you know, you can double it up, you can put two or three layers on if you've got extra material. It'll fit into thin voids like the roof space. You can put it where it's easily accessible and then obviously some areas are really tricky and you might get cold spots and that's where the the thermo fill lofting layer comes in. So what I'll do, I'll put this on here, do a time lapse video, and then you'll see how it all goes on. Alright, let's get cracking.
Right, that's that done, took a bit longer than the sound blocker. This stage, step two, probably took two or three hours, maybe give yourself half a day to do this job. It's just because you've got to be a little bit more accurate and a little bit more careful because you're cutting all this stuff to fit in better than the sound blocker. And it's really sticky as well. So you've got to make sure your bits are cut to the right size before you try and put them in. And in these vans there's a few cavities where the panel extends sort of up and back by six or eight inches. So to get your stuff stuck in there, you can peel half the backing paper off and then slot it in, stick it in and then when you're sure you've got it in the right place, peel the rest of the paper off.
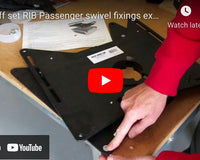
But yeah, not too bad. It'll make a big difference. Let me just show you in a bit more detail what we've got. Okay, so that's that panel there, that sheet cut to fit pretty well. Don't forget none of this will be seen either. In the sliding door I've done the top void and middle void, I haven't done the bottom void because I'm going to put one of our Kiravans door stores in there and if you pad out the bottom void, there's not enough room for the pocket. Over to this side, that one's done and obviously up inside that cavity, you can get in there by cutting smaller sections and feeding them in from the end, and the back panel and then I've done the roof that will make a massive difference. I don't know if you can see but I've put some on the tailgate there, it's quite fiddly. So that's that job done.
I've still actually got, I think I've got about three meters left. So if I wanted to, I could go through and put a double layer where it's easily accessible. And then the next video is going to be step three which is the thermo-fill, which is the lofting layer. So I'll get on with that job next.
Okay, good luck with this stage and I'll see you in the next video.